How To Get the Best Results with Oramask
Oramask 813 is the best product I have used to create pieces where I want to paint some portion of the design. The overall idea is that you apply the masking to your material, cut the details you want, then paint the cut areas and pull off the masking to reveal the cut portion in color with the rest of the material nice and clean. Every time I show using it in a video I am asked how I get it to stick down so well.
Today I am going to take you through the steps I use to get the best results with Oramask 813. Please note, this masking can be used if you are working with hand tools and routers. We will be talking about it mostly in reference to a CNC machine, but all of the same principals still apply.

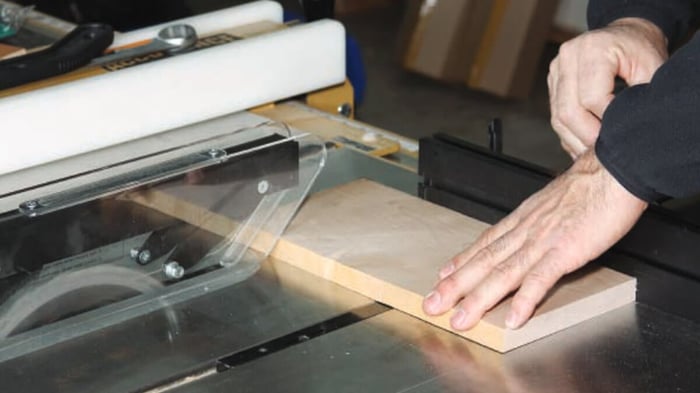
Clean Material
This is easily the most over looked step that I have seen. In order to get the masking to stick properly you need a clean surface to apply it to. Blow off the material with an air compressor and to take it a step further, you could even use a tack cloth to ensure there are no dust specks left on the material. Each spot of dust will result in a bubble created when laying down the masking. If your toolpath runs over one of those bubbles there is the potential for the masking to pull up and not stick properly in that spot. This is a critical step to success with the masking.
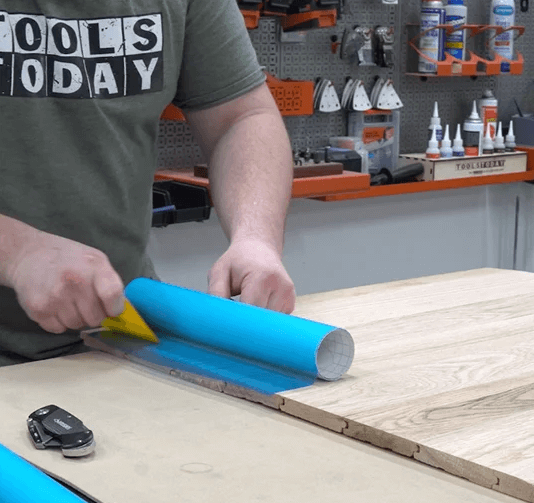
Apply the Masking
The first bit of masking you lay down is the most important to set yourself up for success.
Remove the paper from a small 2″ section of the masking and apply that to your material firmly with your hand ensuring you don’t create any creases.
Use a spreader to ensure everything is laid down smooth and bubble free.
Grab the backing of the Oramask and slowly pull it out using the spreader to smooth and firmly push it down as you go.
This is not a speed competition! Moving slow and ensuring that every bit of new masking is fully pushed down with the spreader will produce better results. As you get more comfortable doing it, the speed will come. Check out this short video on YouTube to see this process in action.
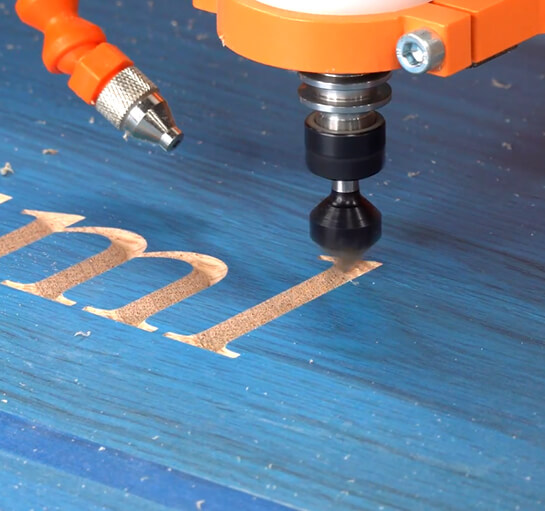
Cut Using the Right Bits
You can do everything right up until this point and still get bad results if you’re not using the correct bit.
Oramask should only be cut using sharp v-bits and downcut bits. I have found the best success with v-carving Oramask when using the insert carbide v-bits; they stay sharp for a very long time and produce incredibly clean cuts through the masking.
One of my favorite in particular is the Amana Tool RC-45711 90 degree v-bit, it is a great, inexpensive bit that produces excellent results in Oramask.
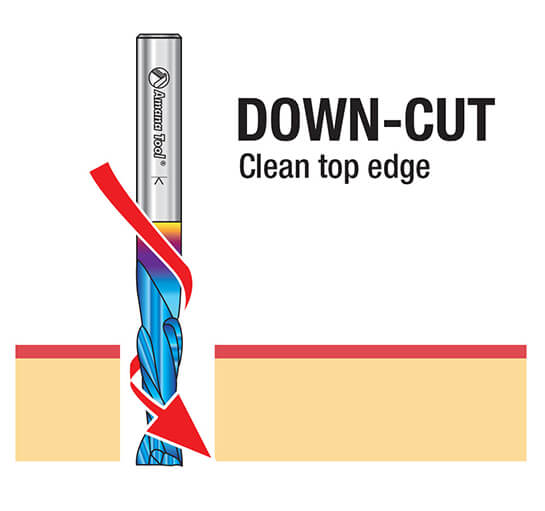
That covers carving, but what if you need to cut a large pocket that you want to paint? A downcut bit is the only way to go here. Downcut bits force the chips down leaving you with a perfectly clean top surface of the material, which is exactly what we want to see when using Oramask 813.
If you were to use an upcut bit, this would pull all of the chips upward which can chip out wood, but will also pull up the masking as well and leave you with a frayed edge that will not give you clean paint lines, and make you frustrated that the masking didn’t stick down.
This is one of the most common issues I see when people say their masking isn’t sticking down when cutting. Using a downcut bit will produce much cleaner results and give you the crisp paint edge you’re looking for. For more information about upcut, downcut and compression bits and when to use each one, check out the post I made on this topic.
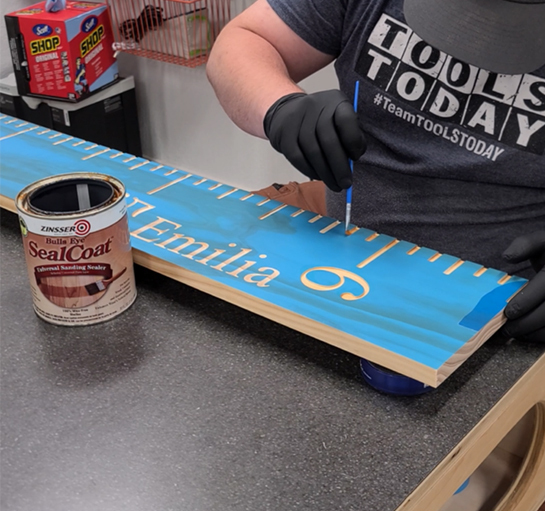
Apply Sanding Sealer
This step is more optional than anything and is only needed with certain types of wood.
When carving through wood you are exposing some of the endgrain. When you expose endgrain and try to paint it, with certain woods, it can act almost like a straw and cause the color to bleed into the grain under the masking.
Unfortunately, this is not something that can easily be sanded away or something the masking can protect from as the endgrain is sucking the paint into the wood.
This bleeding issue is particularly bad with thinner paints, like spray paint as it makes it easier to bleed into the grain.
One way to protect yourself against that is to apply a coat of sanding sealer to the parts that you’re going to be painting before painting it. I personally prefer to use the “Zinsser Bulls Eye Seal Coat Wood Sealer” as it is not water based and will not raise the grain before painting like a water based sanding sealer would. It also dries fairly quick so it’s not a long wait before I’m able to paint over it.
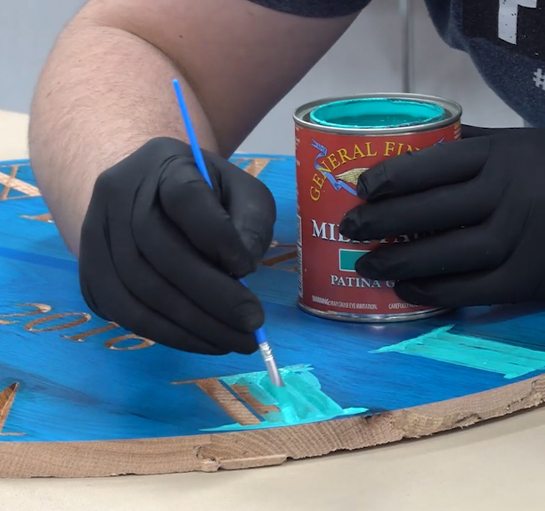
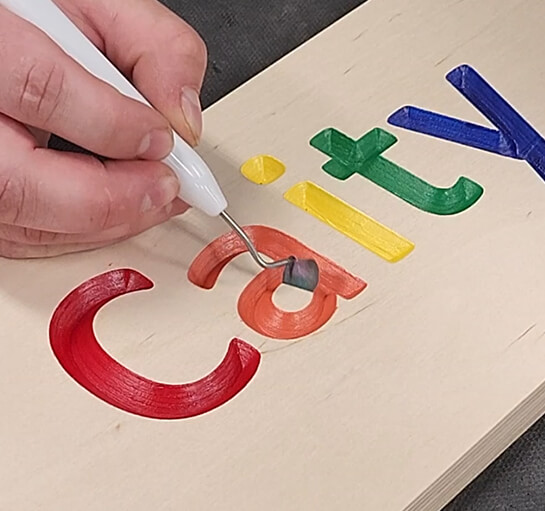
Painting
Another way to protect yourself against grain bleeding is to use a thicker paint like General Finishes Milk Paint. This has been my go-to paint for years as it has always held up very well for me and generally doesn’t require the use of sanding sealer before painting to prevent bleeding into the grain.
I generally apply 2 coats over the carved area for nice even coverage. That being said, there are certain woods that I have still experienced grain bleeding in where sanding sealer may still be necessary.
Soft woods like pine and cedar tend to be the worst about grain bleeding, but I’ve also experienced some bleeding on open grain woods like Oak as well. Most hardwoods are able to be painted using the milk paint without the sanding sealer though, but to be sure you will want to conduct your own test on some scrap wood before trusting it on a piece you put time into carving.
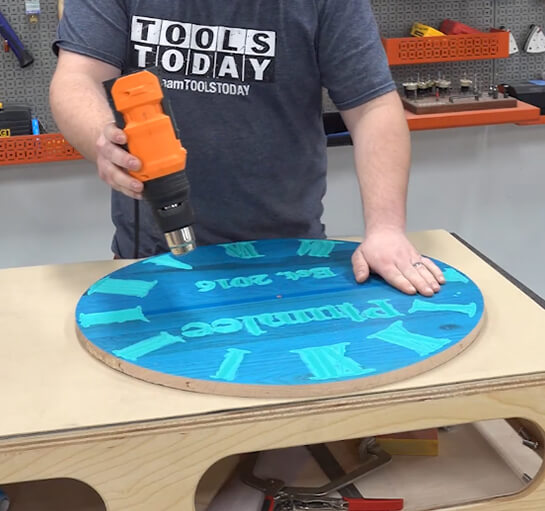
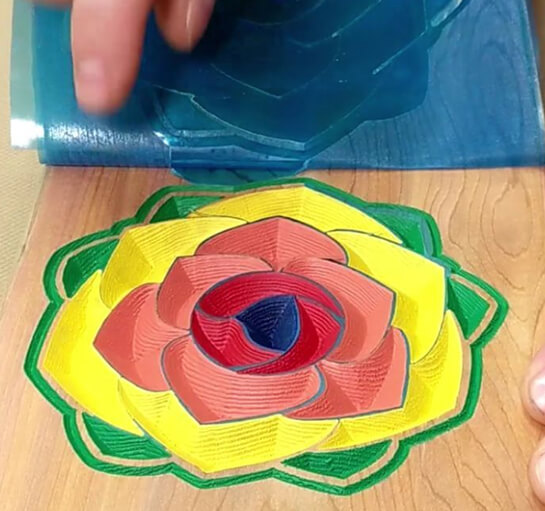
Remove the Masking
Once the paint is fully dry, it’s time to remove the masking. If the masking has been on the wood for a while, or if it is particularly cold out, the adhesive on the masking can hold a bit too well which can pull some of the grain of the wood off with it. Birch is particularly bad about this.
To prevent that, use a heat gun and go over the masking and heat up the adhesive a little bit to make pulling it off easier and prevent grain pulling.
Keep the heat gun about 12″ away from the material and keep it moving constantly. Do not keep it on any one area too long or the masking or paint will melt/burn and cause a mess. Check out this video starting at about the 3:25 mark to see this process in action.
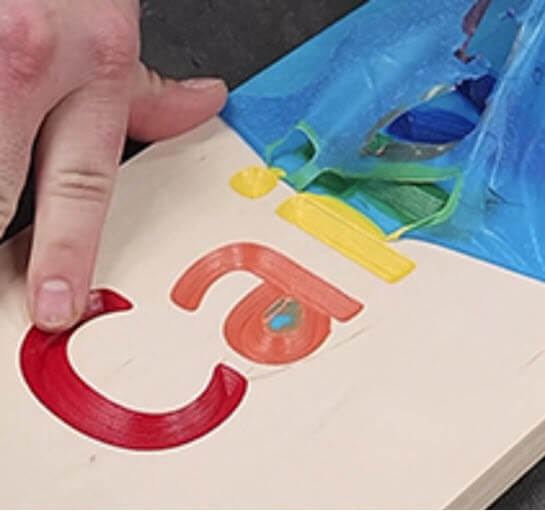
Use a Weeding Tool
Now that the majority of the masking is done, we need to remove the masking from the smaller inside portions of your design.
You can pick each piece off with your fingers, but this can often take awhile. Using a weeding tool helps a ton in picking up just the edge of the masking without messing up the paint or the material and helps to pull it off nice and clean.
You can also use the same heat gun method to assist with removing these smaller bits. Be sure, and I cannot stress this enough, to not leave the heat gun in any one area too long as it will melt/burn the masking and paint; I may or may not know that from experience :D.
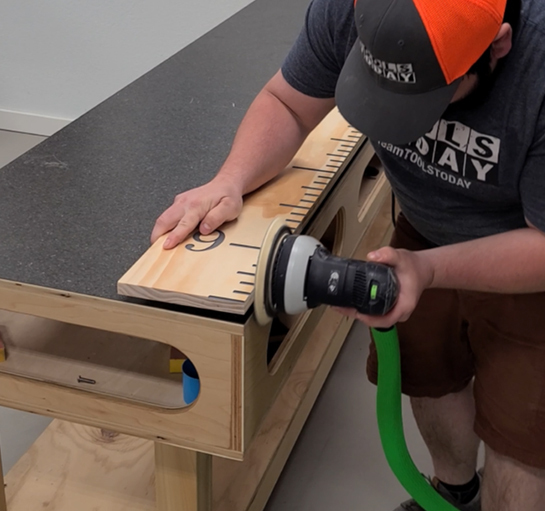
Final Sanding
This step may or may not be necessary depending on how finely you sanded before applying the mask and if you experienced any grain pull.
If you do need to do a final sanding, use some 220 grit sand paper and do a very light pass with your random orbital sander.
Do not put any weight down on the sander, just let it glide across your material, you don’t want to catch an edge and mess up the paint in the carving. After that blow off any remaining saw dust and you’re ready for finish!
In conclusion, I hope this has provided you with some useful tips on getting the best results using Oramask 813. Most of the products I mentioned here are assembled into a kit to get you started using Oramask 813. Oramask 813 is an amazing product and can save some serious time in the shop. Follow these steps and you’re sure to get the best result!