
 Router Bits
 Spektra Router Bits
 Saw Blades
 Shaper Cutters
 Boring & Drilling


 CNC Router Bits
 CNC Router Bit Sets
 CNC Machines
 CNC Machine Accessories
 Free Vectric® & Fusion 360™ CNC Files
 CNC Software
 CNC Plans Downloads
 CNC Vacuum Table Vacs
  Laser Cutters Accessories
 Laser Cutters
 CNC Sanding Tools


 CNC Machines
 Drilling & Screwdriving
 Filtration, Dust Extractors & Collectors
 Edge Banders
 Joinery Machines
 Jointers & Planers
 Material Handling
 Metalworking Tools
  Mobile Tool Bases & Universal Stands
 Oscillating Multi-Tools
 Power Tool Accessories
 Routers & Shapers
 Sanders & Polishers
 Saws
Saws Wood Turning Machines and Accessories


 Amana Tool
 Sawstop
 Festool
 Woodpeckers
 Timberline
 Stepcraft
 A.G.E. Series
 Fein
Fein
 Jet
Jet
 VECTRIC
 Powermatic
 Laguna Tools
 Carbide 3d
 Onefinity CNC
 Shaper
 xTool
xTool
 AirWeights
 Panto Router
 Black Box Vac
 SST
SST
 Jessem
 Donek Tools


PRODUCT DETAILS
Click an item to expand and learn more
-
he 18|BX Bandsaw follows in the traditions of high-performance and reliability established by the widely-used Laguna Tools 14|12 and 14|bx models. The 18|bx is built around a 3HP, 220V motor and 145″ (368 cm) blade for consistent results, cut-after-cut, regardless of wood material. (Shown with optional mobility kit)
Shown with optional Blade, Lighting and Mobility Kit
Features:
- Motor: 3HP, 220V, 1 Ph. 12 Amp.
- Recommended Breaker: 20 Amp.
- Magnetic Starter
- Min-Max Blade Width: 1/8″ – 1-1/4″
- Resaw Capacity: 16″
- Throat: 18″
- Blade Length: 145″
Additional Details:
- Disc-Brake With Micro Switch
- 220V Outlet On Back For Light
- Window For Tension
- Window For Tracking
- Magnetic Blade Tension Guide
- Worm Gear & Pinion Upper Guide
- 10 Point Laguna Ceramic Guides
- Flat Poly-Groove Drive Belt
- Premium Anodized Insert With Micro Adjustment
- Dynamically Balanced Cast Iron Wheels
- Urethane Single Piece Snap-On Tire
- Cast Table Size: 20″ x 26″
- Table Tilt: -6°, +45°
- Cast Table Size: 20″ x 26″
- Cord: 6 ft
- Table Tilt: -6°, +45°
- Quick-Release Tension
- Hi/Low Anodized Aluminum Fence: 22-½″ x 5-¾″ x ½″
- Table Height: 38″
- Dust Ports: 4″ x 2
- Overall Height: 77-¾″
- Dimensions (Base): 27″ x 20″
- Dimensions Overall: 36″ x 30″
- Dimensions Box: 36″ x 84″ x 30″
- Weight (Net/Ship): 410/460 lbs
*Optional Accessory – 18|bx Wheel System
- Foot Operated
- 360° Omni-Directional
- Rubber-Coated Wheels
- Adjustable Rubber Pads
- Oilite Bronze Bushing Allows For Less Friction & Longer Life
- Easy Install With No Drilling Required
- Pedal Raises & Lowers Front Wheel
- Wheels Mounted Outside Frame To Maximize Stability
*Optional Accessory – Pro Light System
- Swivels 220°
- 12 Volt/50 Watt
- Tilts Vertically 320°
- Built-In Transformer
- Independent On/Off
- Ribbed Aluminum Case
- Halogen Hi-Intensity Light
- Bright, Glare-Free Flood Light
- Designed for Even Light Distribution
- Reinforced Glass, Dustproof Design
- Top and Side Cabinet Mounting Position
Uses:
- Resawing large planks into thinner slabs
- Cutting curves in thick wood stock
- Creating veneers from larger pieces of wood
- Making precision cuts for joinery like tenons and dovetails
- Cutting intricate designs for decorative woodworking projects
- Slicing through hardwoods for furniture making
- Producing lumber from logs
- Shaping parts for musical instruments
- Crafting custom wooden frames and moldings
- Trimming parts to exact dimensions for cabinetry
Read More
-
-
-
Does the saw come with a blade?
The bandsaws do not come with a blade. You will need to choose blades based on the type of cutting that you will be doing and order the correct length and width. This saw takes a 145” blade.
Can the saw be moved around the shop?
Yes, we offer an optional mobility kit for this saw. This same kit also fits the 18|CX Bandsaw.
Does the saw come with the light shown in photos?
The work lights are an optional accessory that are available separately. There are pre-drilled mounting locations for the light and an outlet located on the rear of the saw to plug the light in.
Should the blade be positioned at the front, rear, or center of the wheels?
The blade should be centered on the tire and tracked to remain in the center when the wheels are spun by hand. You can verify the position of the blade by looking through the tracking window on the side of the upper cabinet.
Can I leave the tension on the blade when the saw is not in use?
We recommend releasing the blade tension when you are finished using the saw for the day. The 18|BX has a quick tension release lever on the back of the saw. You will want to develop a habit of checking to make sure that the blade is tensioned before using the saw. You can view the tension indicator through the window on the upper door.
What blade is best for resawing?
You will want to use the widest blade that your saw will accept for resawing. This keeps more blade in the guides and provides more “beam strength” in the blade which makes for more accurate cuts. We recommend the Resaw King blade which is carbide-tipped and resharpenable. The 1 ¼” x 145” is the correct fit for this saw.
Which blades are best for curved cutting?
You will want to use the widest blade you can for the radius of curves that you will be cutting without binding. The tighter the curves, the narrower the blade that you will need. Two popular choices for starting off are a ¼” x 6 TPI ProForce blade for tight curves and a ½” x 3 TPI ProForce blade for gentle curves and general-purpose work.
How narrow of a blade will this saw accept?
The 18|BX bandsaw will accept ¼” up to 1¼” blades on the stock ceramic guides that come with the saw. You can use blades smaller than ¼” when using the optional Mini Guides. Blades narrower than ¼” run out of sufficient beam area behind the teeth and gullets to properly support the blade. The Mini Guides use wearable phenolic insert rods that surround the blade (including the blade teeth). The rods are not harmful to the blade teeth and will gradually wear down during use. The rods can be turned and pushed in as they wear. Replacement rods are available for purchase.
Why use ceramic guides?
The ceramic guides handle heat better than bearing guides, allowing for closer placement to the blade, often touching it. Metal bearings, however, are spaced away and only spin when the blade deflects, affecting cut quality.
The ceramic guide systems offer 10 contact points around the workpiece—5 above and 5 below. Side ceramics above and below the rear thrust ceramic dampen blade oscillations for a superior cut.
Replacement ceramic inserts are affordable & last long time
I’ve damaged one of the ceramics on my guides. Can they be replaced?
Yes, the ceramic inserts can be replaced. To replace, remove the guide block or thrust support. Clean the mounting surfaces. A light sanding with 220 grit paper in the groove or on the face of the thrust shaft will provide some “tooth” for the adhesive. Clean the surface with alcohol and let it dry. Use gel super glue to adhere the ceramic to the guide block making sure that the ceramic is flush with the front surface.
There is a small black block in the lower cabinet that is touching the blade. Is this normal?
Yes, the “Insert Block” is made of plastic so that it does not damage the blade should it touch the blade or teeth. This block is positioned in a slot on the right-hand side of the lower cabinet just under the table. This block seals off the area surrounding the blade to improve dust collection. Your saw will work perfectly with the block removed although dust collection will be better with it in place. Replacement insert blocks are available for purchase.
How do I adjust the bandsaw?
Once your saw is set up, you will want to adjust the following items to get the best quality cuts possible. Start with the guides backed off away from the blade and make sure that you adjust in this order. The title of each step is a link to its corresponding setup video.
1. Tension – Install the blade centering it on the wheels and set the tension using the tension indicator reading for the blade width you are using.
2. Tracking – With your saw unplugged, spin the upper wheel by hand to see if the blade stays centered. If it moves forward or backward on the wheel, use the tracking knob on the rear of the upper cabinet making small adjustments while spinning the wheel to move the blade forward or backward to have it ride in the center of the wheel.
3. Guides – Start with the upper guides and slide the rear thrust post forward to where the round rear ceramic is just lightly touching the back edge of the blade and tighten the thrust rod. Next, slide the side guides forward to where the front edge of the guides are positioned just behind the gullet of the blade teeth. Now move the side guides inward to where they just barely touch the blade’s sides without deflecting it. Tighten the side guides. Repeat for the bottom set of guides.
4. Fence – Adjusting the fence for drift will ensure that you get the best quality cuts from your saw. We adjust the fence to the dynamic way that your blade is cutting. Use a piece of flat stock like plywood with a straight edge of the material against the fence. Cut a few inches into the material by sliding along the fence. Stop the saw with the blade still in the cut and observe the rear edge of the blade. The rear edge of the blade should be centered in the kerf with the same gap on both sides. It if is off-center, loosen the fence pivot slightly and adjust the fence to the left or right as needed. Repeat the cut to verify that the rear of the blade is centered in the kerf. Repeat if necessary to fine-tune.
I see some sparks from the guides when cutting. Is this normal?
It is normal to see some sparks at the guides when cutting. This is particularly noticeable after installing a new blade and generally diminishes as the blade is polished by the ceramic guides. Rounding the rear edge of the blade with a fine stone is helpful. The orange spark seen from ceramics against the blade is seen easier than the blue sparks from a metal-bearing touching the blade.
What is the warranty?
New woodworking machines sold by Laguna Tools carry a two-year warranty. Machines sold through dealers must be registered with Laguna Tools within 30 days of purchase to be covered by this warranty. Laguna Tools guarantees all new machines sold to be free of manufacturers’ defective workmanship, parts and materials.
Does the 18|BX Bandsaw have a foot brake?
Yes, the 18|BX Bandsaw has a disc-brake operated by a foot pedal that shuts off the motor and stops the blade.
Where is Laguna made?
Laguna Classic Series machines are designed in California at our Huntington Beach facility and are manufactured and shipped globally. The 18|BX Bandsaw is manufactured at an ISO-9001 certified facility in Taiwan.
Is the 18|BX bandsaw certified?
Yes, the 18|BX Bandsaw is CSA inspected and certified. The CSA certification means it has been tested against applicable North American standards requirements and is widely accepted by many government and code officials, regulatory and regulation bodies, leading retailers, and Authorities Having Jurisdiction (AHJ). The CSA mark demonstrates that a product has been rigorously tested to applicable standards. These include standards written or administered by the American National Standards Institute (ANSI), Underwriters Laboratories (UL), CSA Group (CSA), NSF International (NSF), and other North American and global organizations.
What is an Insert Block?
The Insert Block is used to improve dust collection by reducing the gap at the bottom of the dust collection area of the saw. Your saw can be operated without the insert block in place while you are waiting for a replacement. The tighter the opening where the blade exits the dust collection chamber, the better the dust collection. Since the insert block is used in very close proximity to the blade, it is designed of plastic so that it does not damage the blade should the two items come into contact. The insert block, like the blade, are considered wear items. The insert block, like a Zero Clearance throat plate on a tablesaw, will get worn over time and is designed to be replaced occasionally.
Users can also make their own replacement insert block from a piece of plywood or MDF. Should you create your own insert block, cut the block to size and then with the saw unplugged slide the block into the groove while rotating the wheels by hand so that the blade can cut the slot while the block is pushed into its groove. Use pliers to hold the block while cutting the groove to keep your hands and fingers away from the blade.
-
 Download Manual Instructions PDF
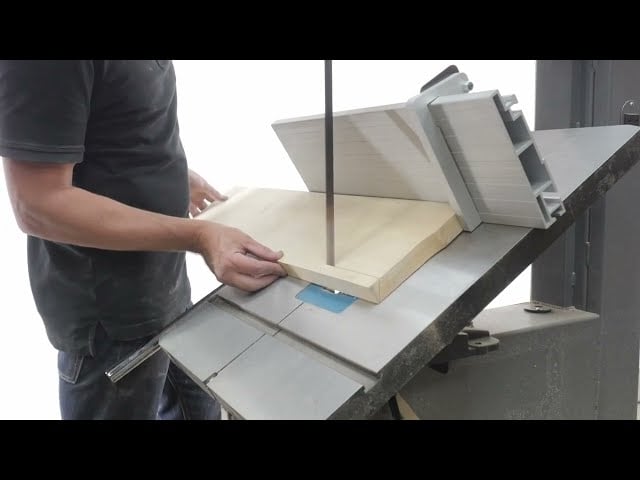 Introducing the 18|BX Bandsaw And Its Features | Laguna Tools
 18 | Bx Bandsaw | Laguna Tools
 ToolMetrix - Slice Logs into Lumber on the 18BX Bandsaw with a Simple Jig
 1412 Bandsaw Setup - Part 1 of 14 - Laguna Tools
 1412 Bandsaw Unboxing Parts - Part 2 of 14 - Laguna Tools
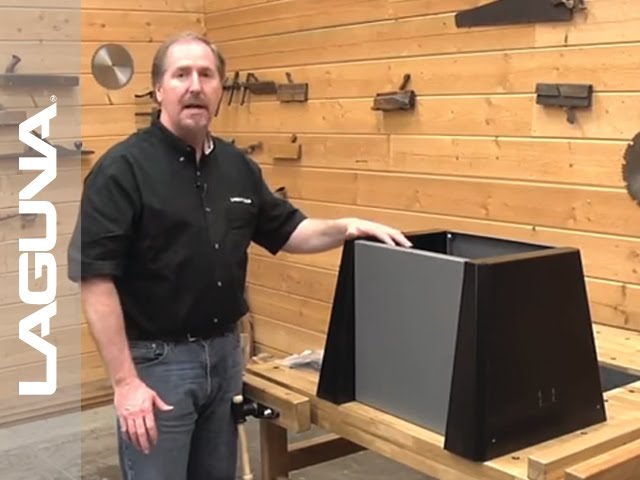 1412 Bandsaw Base Assembly - Part 3 of 14 - Laguna Tools
 1412 Bandsaw Attach Base to Saw - Part 4 of 14 - Laguna Tools
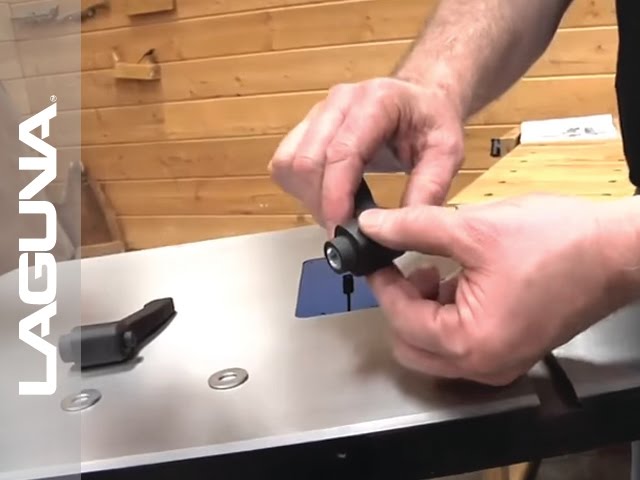 1412 Bandsaw Table Installation - Part 5 of 14 - Laguna Tools
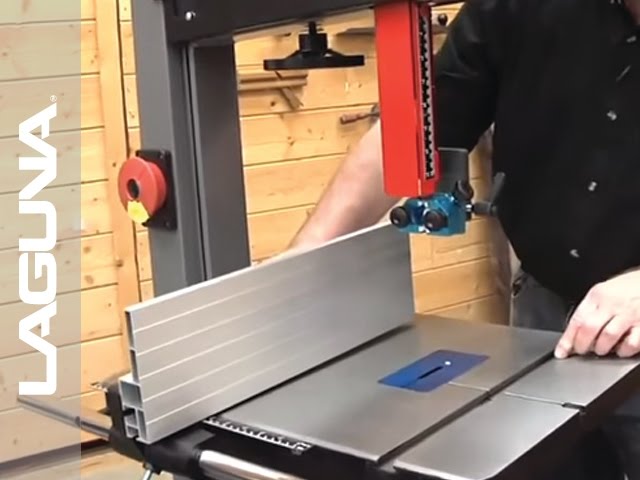 1412 Bandsaw Fence Installation - Part 6 of 14 - Laguna Tools
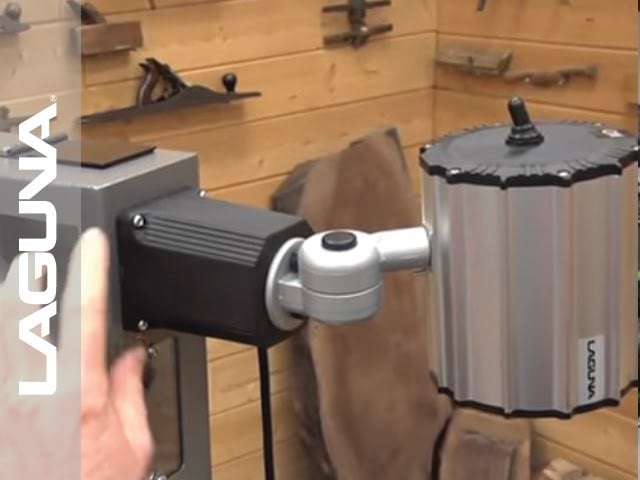 1412 Bandsaw Optional Worklight Installation - Part 7 of 14 - Laguna Tools
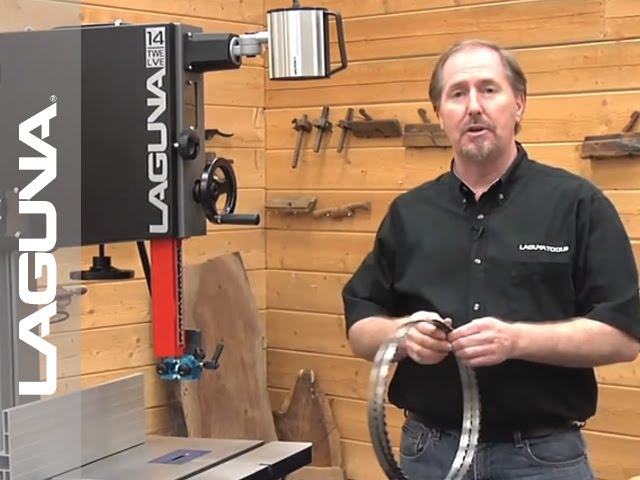 1412 Bandsaw Blade Installation - Part 8 of 14 - Laguna Tools
 1412 Bandsaw Blade Tension and Tracking - Part 9 of 14 - Laguna Tools
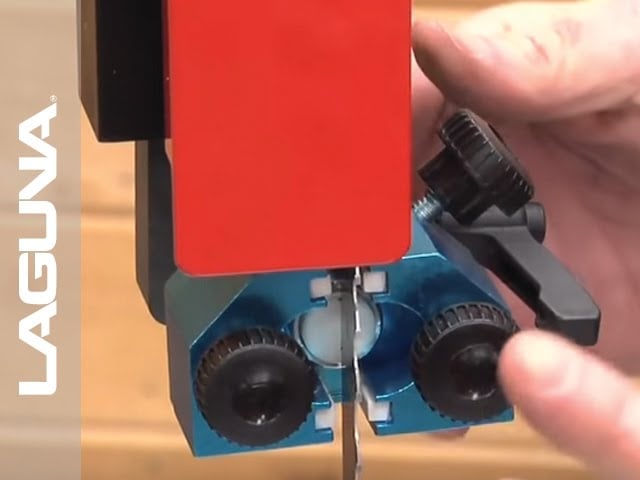 1412 Bandsaw Blade Guide Adjustments - Part 10 of 14 - Laguna Tools
 1412 Bandsaw Make Some Test Cuts - Part 11 of 14 - Laguna Tools
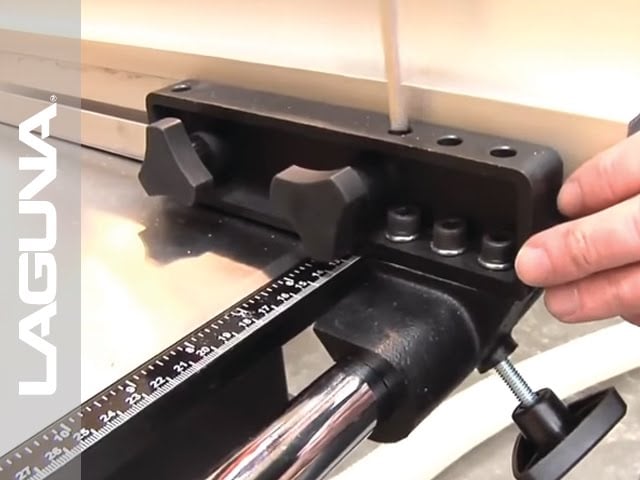 1412 Bandsaw Drift Angle Adjustments - Part 12 of 14 - Laguna Tools
 1412 Bandsaw Safety and Technique - Part 13 of 14 - Laguna Tools
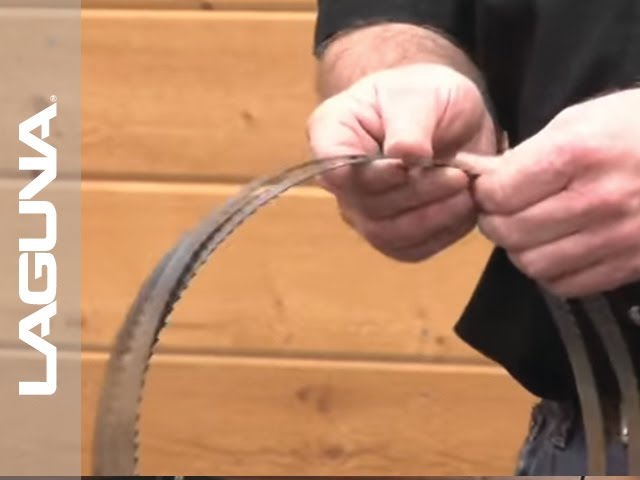 1412 Bandsaw Maintenance - Safety- Part 14 of 14 - Laguna Tools


