Everything You Wanted to Know about the Shapeoko 4 CNC Machine
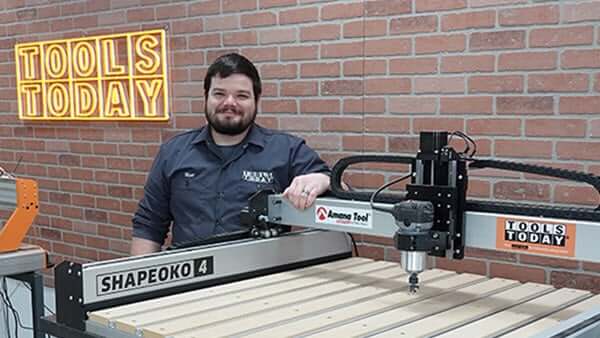
There is a lot to know about the Shapeoko 4 CNC machine, but Toolstoday’s Matt Plumlee is going to walk you through the specs of the machine, talk about how it works and hopefully, answer all of your questions!

Whether you’re looking for your first CNC machine or looking to add a new CNC machine to your production, the Shapeoko 4 is a fantastic option to consider! The Shapeoko 4 XL has a 33″ x travel by 17.5″ y travel and the XXL has a 33″ x 33″ cutting area with both having 4″ of z travel.
If you have the space for it, the XXL size is a great machine to start with, with a nice large cutting area for many projects you will want to make!

If you’re new to CNC machines, most will move in 3 directions making them 3 axis machines, x, y and z. The x axis moves left to right, y axis moves front to back and z axis moves up and down.
The Shapeoko 4 uses a combination of stepper motors, v-wheels that ride along the aluminum extrusions, and belts to move the machine the x and y axis. For the z axis it uses a stepper motor and is lead screw driven for more strength and precision.

Shapeoko 4 is Carbide 3D’s replacement for the Shapeoko 3. This includes many upgrades over the Shapeoko 3 that include:
- Larger, stronger V-wheels – We redesigned the V-wheels on Shapeoko 4 to add strength and rigidity compared to the prior version.
- 15mm Belts – Our new, wider belts are over 60% stiffer than the 9mm belts used in Shapeoko 3.
- Inductive homing switches – No moving parts and non-contact operation mean these switches are more durable in even the roughest environments.
- New electronics – A shop is a difficult place for precision equipment. Our new V3 electronics are more resistant to electromagnetic interference and static discharge than ever.
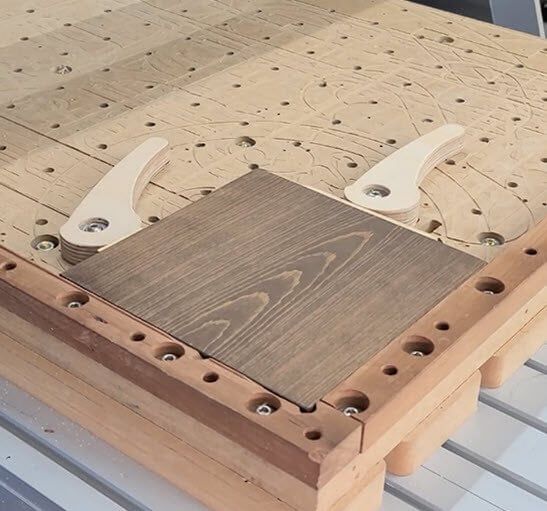
- Integrated T-slot table (OPTIONAL) – The Hybrid Table on Shapeoko 4 gives you almost unlimited workholding options right out of the box.
- Fully-supported Y extrusions – Our extrusions have always been overbuilt, even for a much bigger machine, but the Shapeoko 4 Y extrusions are fully supported by the Hybrid Table, making Shapeoko 4 a much more rigid machine than anything we’ve ever made before.
- Leadscrew-driven Z-axis – Shapeoko 4 uses our Z-Plus Z-axis assembly that’s leadscrew-driven with heavy-duty linear bearings.
- New, more rigid 65mm router mount – We made the router mount thicker to reduce deflection of the router during heavy cuts.
- Dust boot included – Our Sweepy 65mm V2 Dust Boot is included with Shapeoko 4; there’s nothing more to buy to connect to dust collection.
With these upgrades you’ll be able to push the Shapeoko 4 harder for a big increase in productivity.

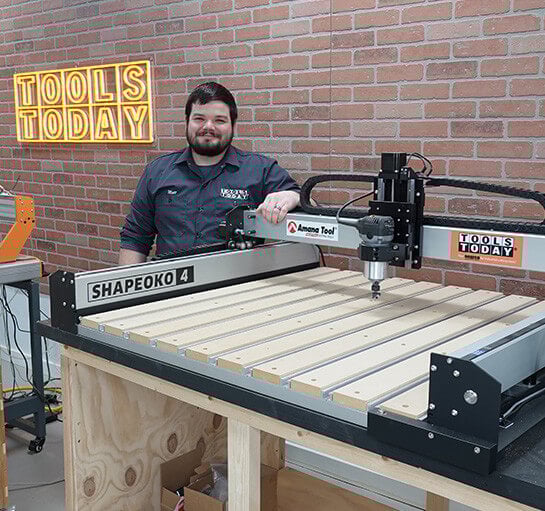
The Shapeoko 4 comes unassembled, so you will need to take some time to assemble it. It took roughly 8 hours to assemble mine. The instructions for assembling the machine are great and there is a very detailed video to accompany it that is extremely easy to follow.
The more difficult or crucial parts to assemble come as sub assemblies to make the process easier. The machine is easy to get squared up and, with the optional hybrid table, is incredibly stable removing most of the worry about possibly coming out of square over time.
The hybrid table is well worth the extra money to get with the machine in my opinion. I was very impressed overall with the quality of all of the parts and how easily and securely everything fit together. While it does take a bit of time to assemble, you will get first hand experience with assembling the machine and learn how it all works in the process.
Shapeoko FAQs
We couldn’t finish this guide without going over two of the most asked questions about getting started with a CNC machine!
Q: How do you get started?
A: The most simple answer to this question is to simply purchase a machine and start learning how to use the machine. The best way to learn how to use a CNC is through experience, making mistakes and learning how to fix them. There is no substitute for experience.
I have talked with many people over the years wanting to get started with a CNC machine and there seems to be a universal fear of making mistakes. I am here to tell you that making mistakes is all part of the learning process and it is okay. In fact, I would say that the times I’ve learned the most is when I make a mistake and have to figure out what went wrong and how to fix it. It's all part of the learning process.
I still make mistakes today, although not nearly as often, and am constantly learning more and more with each project. Do not fear making mistakes, generally speaking, the most that will happen is damaging the material or breaking a bit. These are easily replaceable. There are very few things you can do that will actually cause damage to the machine. Make mistakes and learn from them.
Q: What is the learning curve like on CNC Software?
A: This is the area of CNC that definitely has the largest learning curve. There are two softwares that are used with a CNC; you have a design software and a control software.
The design software is what you use to actually design out what you want to make and set the toolpaths to get the outcome you’re looking for.
You then export out .gcode files that the control software reads. The Shapeoko 4 comes with Carbide Create for that. The control software controls the movements and setup of the machine and reads your .gcode file to determine the machines movements to get the desired outcome. The Shapeoko 4 comes with Carbide Motion for that software.
While the machine does come with a design software I like to steer people towards the Vectric V-Carve Pro software as it is, in my opinion, the easiest software to learn, especially with all the resources and their amazing YouTube channel they have to help you learn how to use it. I’m not going to tell you that it is something you’ll be able to pick right up and use, it will definitely take time and work to learn how to use the software.
The Vectric software is laid out similarly to Adobe Illustrator, if you have experience using that or other vector editing software the transition will be much easier for you.
If you don’t have experience with it, making simple text signs, or even using the clip art designs within the Vectric software will get you by until you’ve learned the ins and outs of the software and use it to its full potential.
Simple text and clip art designs you can learn how to do within the first day of messing around with the software, when it gets to more complicated designs it can take weeks and months to fully learn how to do everything the software is capable of.
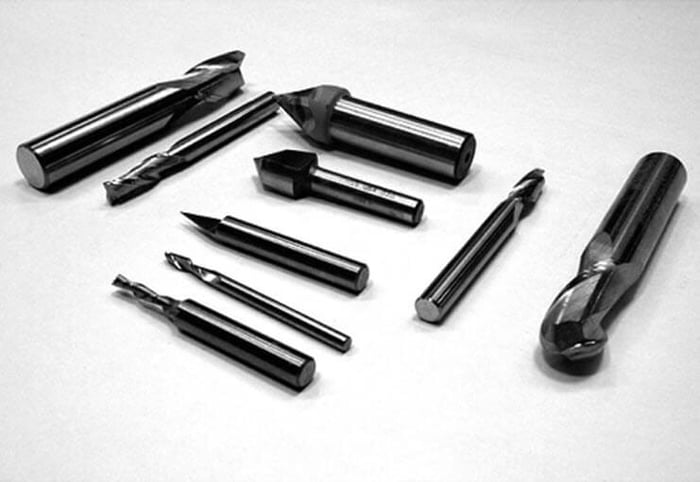
It will also take time and playing around with the machine/software to fully understand what each of the different types of toolpaths and the bits for the machine do. This is where learning through trial and error comes in and helps with the learning process. You can design as much as you want on the computer, but you won’t fully know how everything will work and look until you actually make it on the CNC machine.
Another great option for learning how to use the software is to see designs fully complete and seeing the plans for how that was created. We do offer plans on our website with a comprehensive set of instructions for each that explains each step and how everything was done.
Even if it is not the exact thing you’re wanting to make, each set of plans includes lessons on the parts that make up the design, which you will be able to apply to your own designs.
In conclusion, we hope that this guide has helped you whether you’re just getting started in the CNC world or looking to add a Shapeoko 4 to your shop. This will be an ongoing buying guide that we will continually add questions that we are most commonly asked and answer them about the machine for you so that we can help you as best as we can!