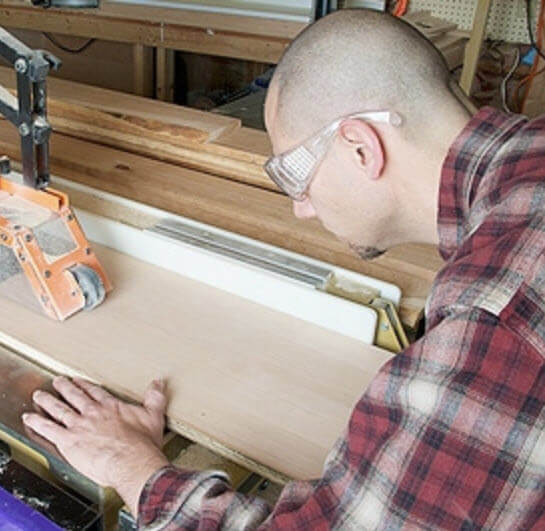
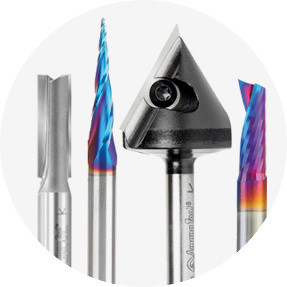
 Router Bits
 Spektra Router Bits
 Saw Blades
 Shaper Cutters
 Boring & Drilling


 CNC Router Bits
 CNC Router Bit Sets
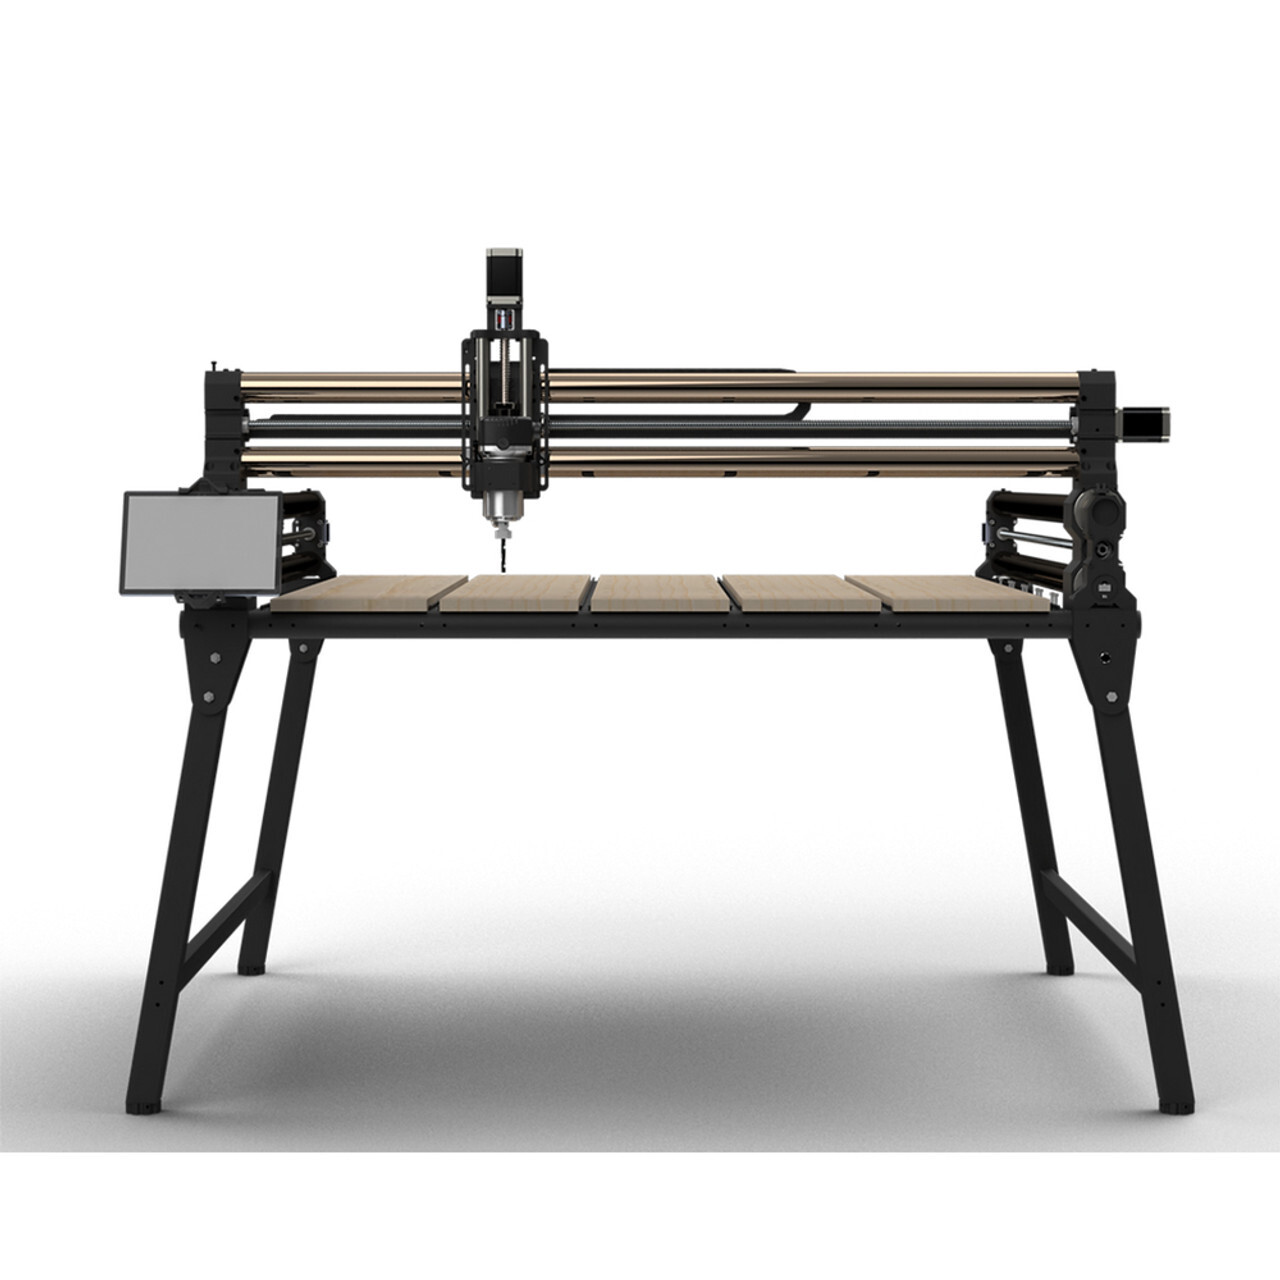
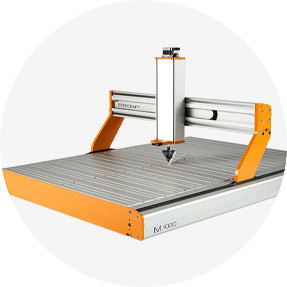 CNC Machines
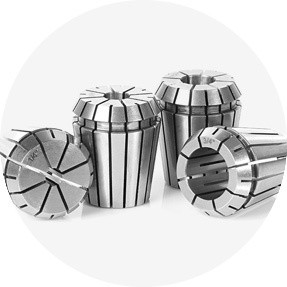 CNC Machine Accessories
 Free Vectric® & Fusion 360™ CNC Files
 CNC Software
 CNC Plans Downloads
 CNC Vacuum Table Vacs
 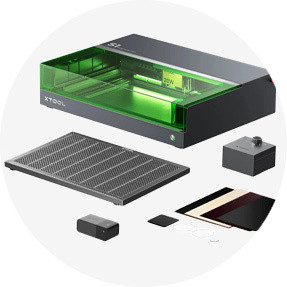 Laser Cutters Accessories
 Laser Cutters
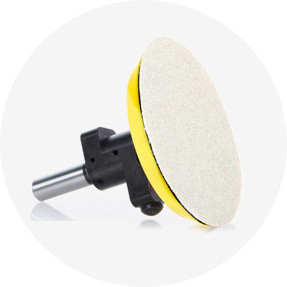 CNC Sanding Tools


 Drilling & Screwdriving
 Filtration, Dust Extractors & Collectors
 Edge Banders
 Joinery Machines
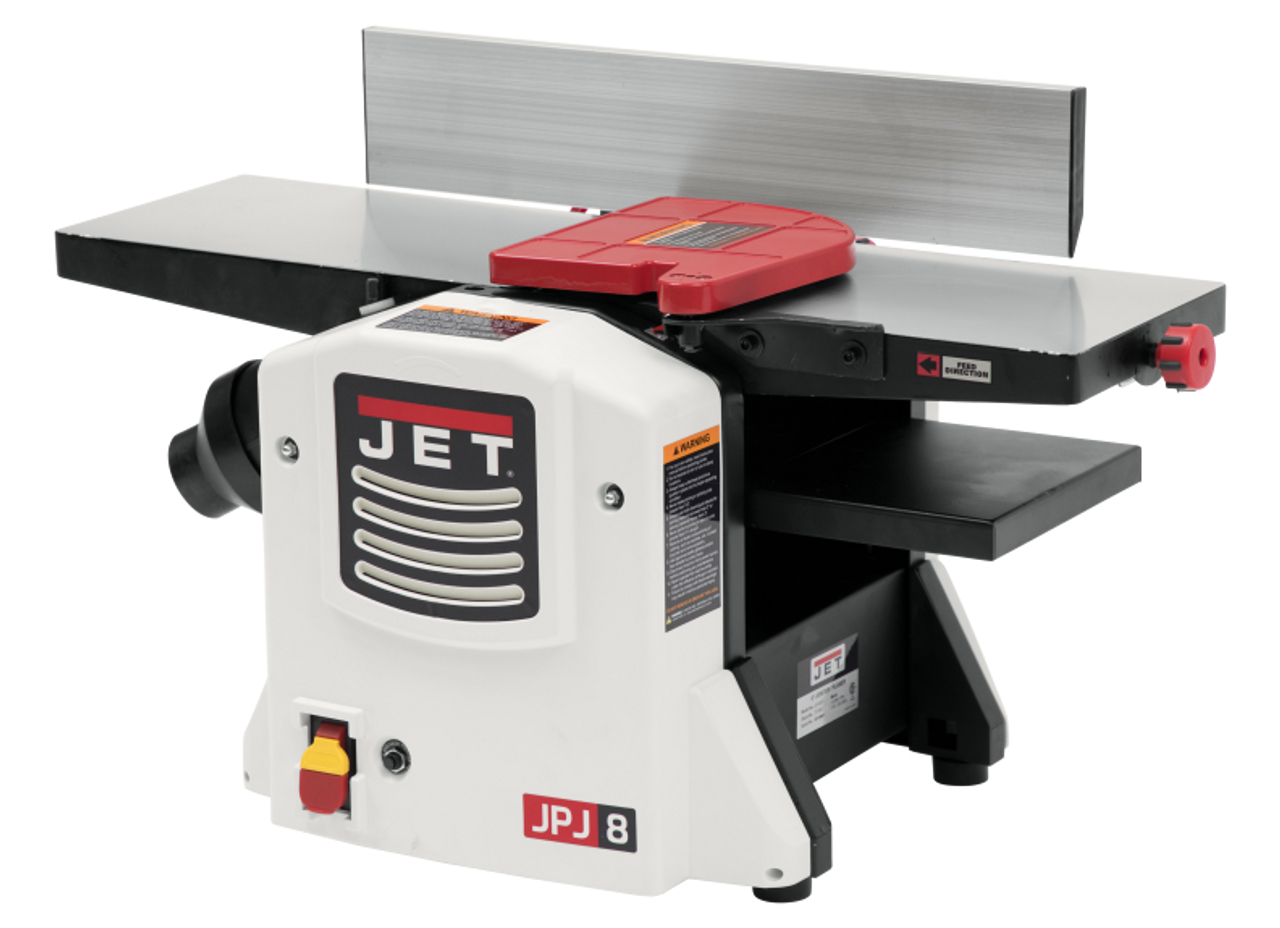
 Jointers & Planers
 Material Handling
 Metalworking Tools
  Mobile Tool Bases & Universal Stands
 Oscillating Multi-Tools
 Power Tool Accessories
 Routers & Shapers
 Sanders & Polishers
 Saws
Saws Wood Turning Machines and Accessories


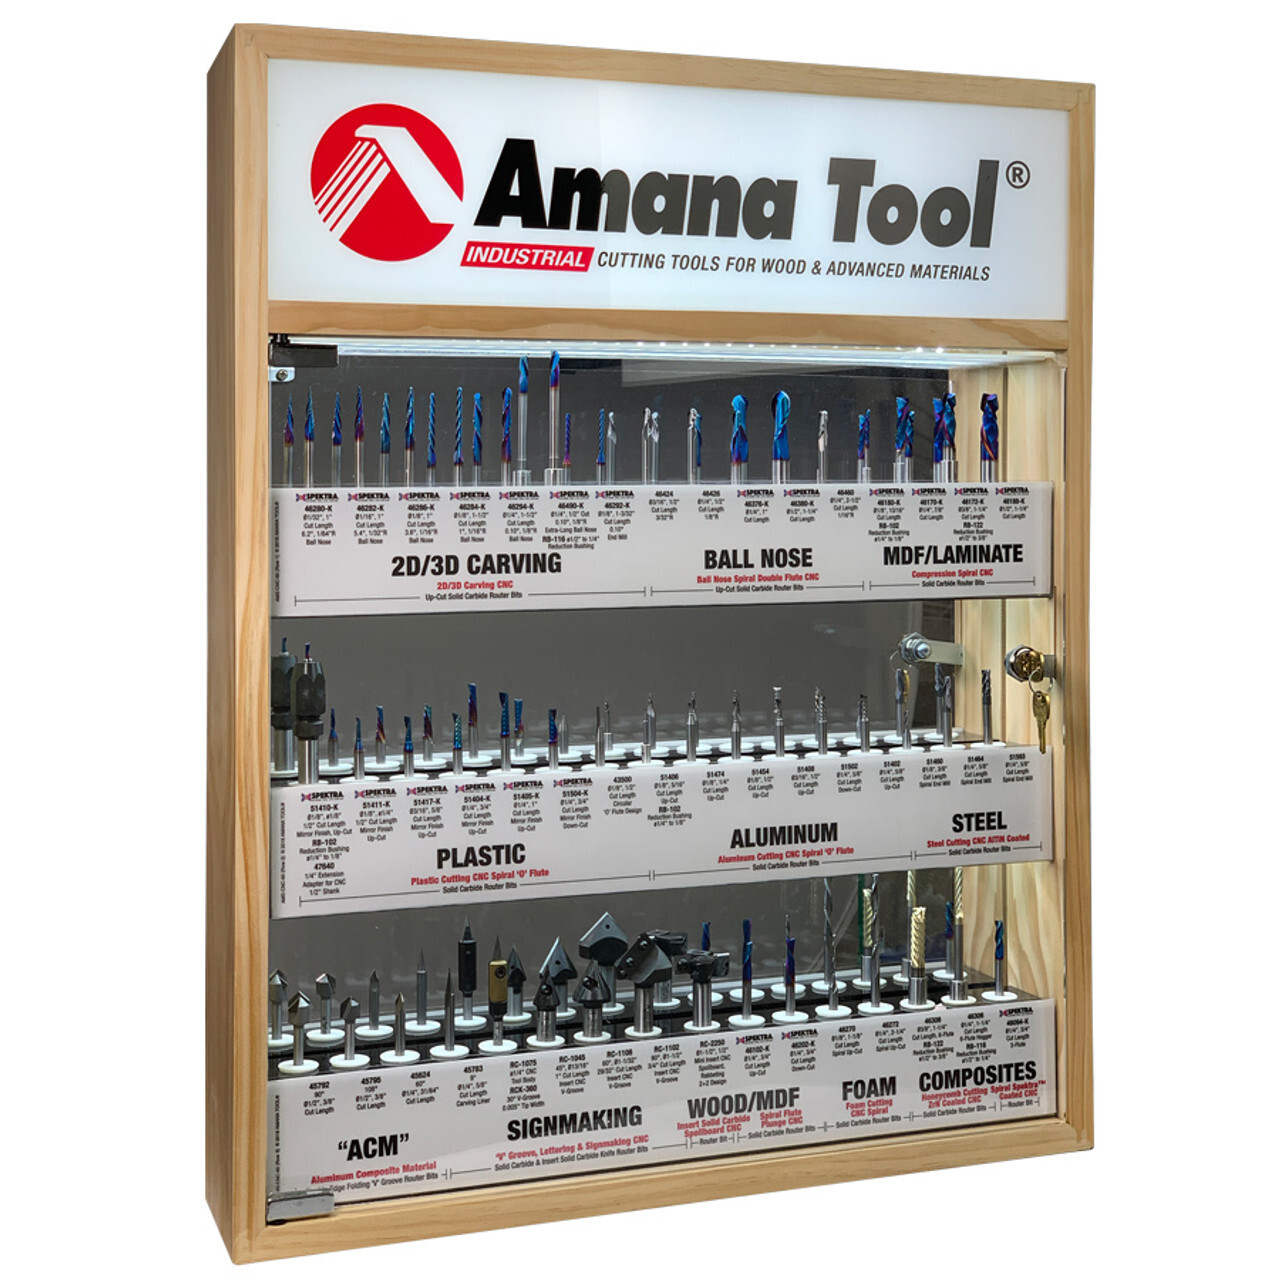
 Amana Tool
 Sawstop
 Festool
 Woodpeckers
 Timberline
 Stepcraft
 A.G.E. Series
 Fein
Fein
 Jet
Jet
 VECTRIC
 Powermatic
 Laguna Tools
 Carbide 3d
 Onefinity CNC
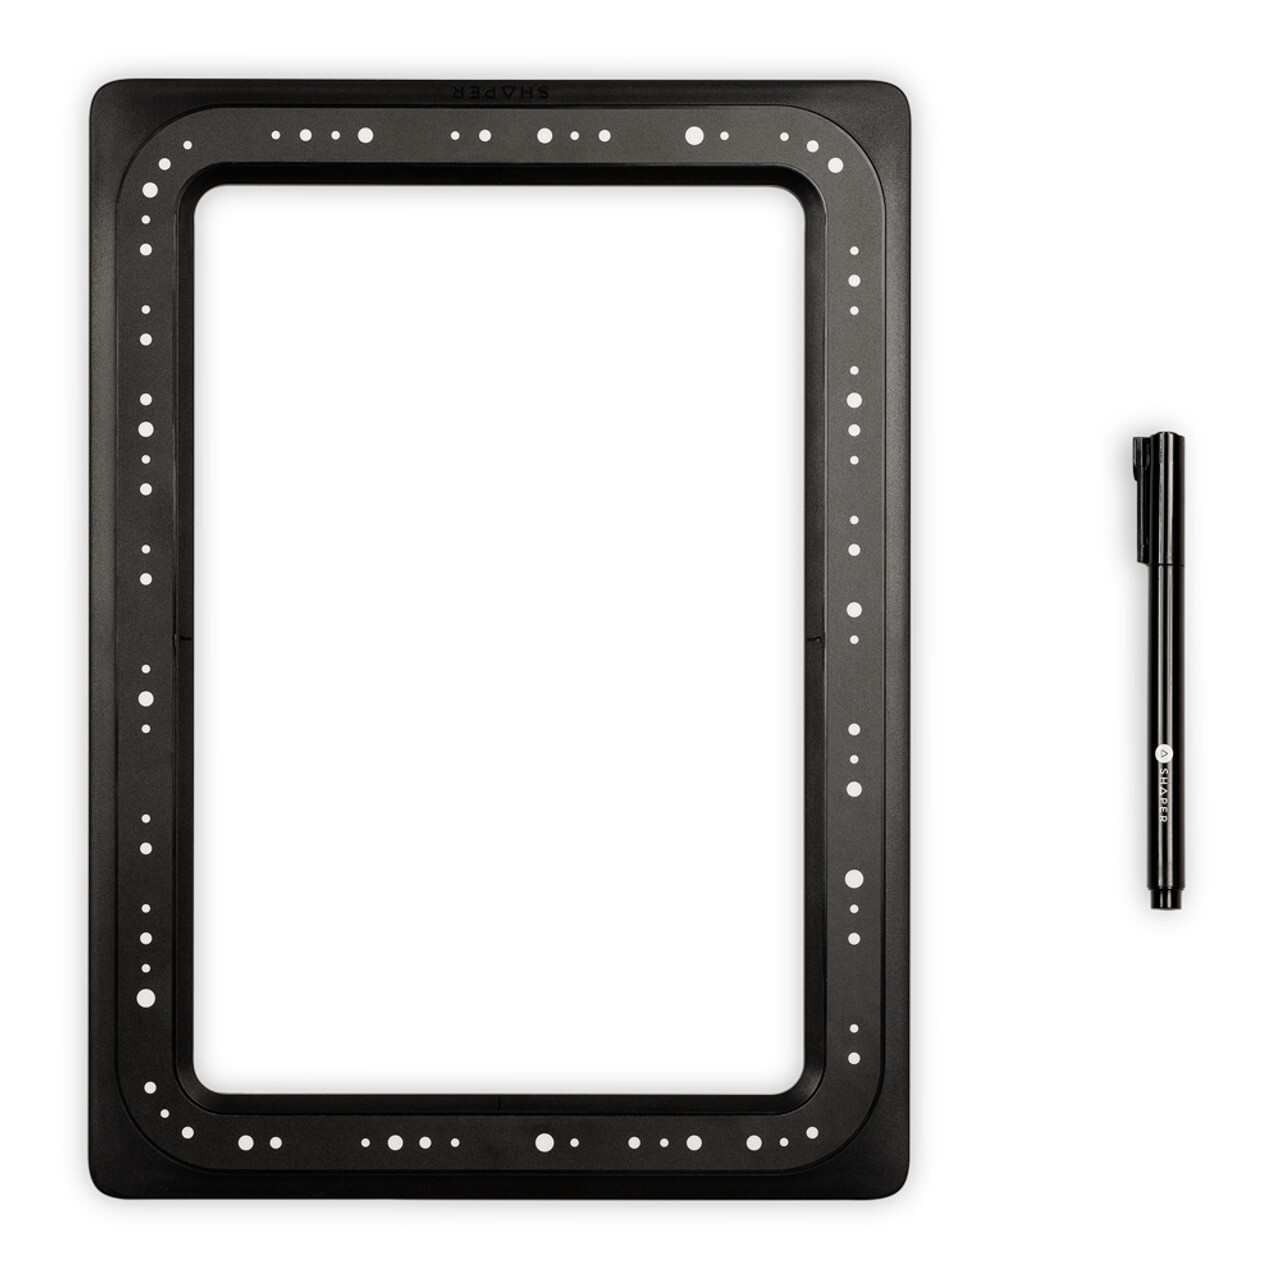
 Shaper
 xTool
xTool
 AirWeights
 Panto Router
 Black Box Vac
 SST
SST
 Jessem
 Donek Tools


How to Change a Circular Saw Blade
Using a sharp saw blade is essential for efficient, safe, and high-quality cuts. Changing a circular saw blade may appear simple but mastering it ensures top performance. It saves time, extends tool life, enhances safety, and produces better results. Always remember, safety first!
Safety Precautions
- Turn off and unplug the saw to avoid accidental starting or electrical shock.
- If it is battery powered, remove the battery.
- Put on safety glasses and gloves.
- Handle the saw blade by the sides, not the cutting edge.
- Store unused blades safely, and use caution when disposing of old blades.
- Other potential hazards should also be considered:
- Check the area is well lit.
- Keep bystanders at a safe distance.
- Look out for tripping hazards.
How to Know If Your Blade Needs Changing
To determine if your circular saw blade needs to be changed, you can look for the following signs:
- Dull Teeth: Inspect the teeth of the blade. If they appear worn down, chipped, or dull, it's an indication that the blade may need to be replaced.
- Burn Marks: If you notice burn marks on the wood after making cuts, it could mean that the blade is not cutting efficiently. This can happen when the blade is dull or damaged.
- Difficulty Cutting: If you experience increased resistance while cutting or the saw seems to be struggling to make smooth cuts, it might be a sign that the blade is no longer sharp enough.
- Splintering or Tear-Out: A blade that is no longer sharp may cause excessive splintering or tear-out on the surface of the material you're cutting. This can be especially noticeable when cutting plywood or other laminated materials.
- Uneven Cuts: If you notice that the saw is producing uneven or wobbly cuts, it could indicate a problem with the blade. This might be due to warping or other damage.
- Excessive Vibration or Noise: A blade that is in poor condition may cause the saw to vibrate excessively or produce unusual noises during operation. This can be a safety concern and may indicate that the blade needs to be replaced.
- Reduced Cutting Speed: If you find that the saw is not cutting as quickly as it used to or the cutting process feels slower, it could be a sign of a worn-out blade.
Remember, if you encounter any of these signs, it's best to replace the blade rather than continuing to use it. A dull or damaged blade can compromise both the quality of your cuts and your safety. Always follow the manufacturer's guidelines for blade replacement and ensure that you use the appropriate replacement blade for your specific circular saw model.
Tools & Materials
- A screwdriver or Allen wrench to remove the blade.
- One may have come with your saw. Use that, or an exact replacement.
- Using the right wrench prevents any stripping or damage to the nut.
- Gloves for safety.
- Eye protection from debris.
- A new blade that fits your saw.
Replacing a circular saw blade regularly can improve cutting performance and safety for users, according to SawAdvisor.com.
Key Steps
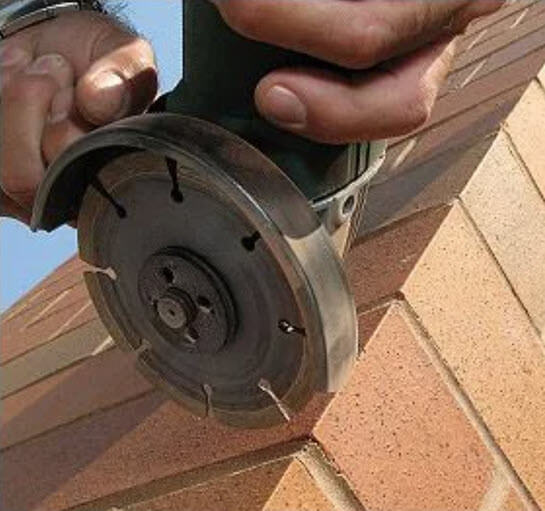
Changing a circular saw blade requires precision and careful handling. Here's how to do it:
- Start by unplugging the saw and securing the blade guard.
- Find the brake and engage. This will lock the blade in place while you turn the wrench.
Sometimes the button won’t completely engage at first. Wiggle the saw blade back & forth slightly and you should feel it pop into place. - Locate the blade nut on the saw's arbor.
Use a wrench or an Allen key that fits the nut's size and turn it counterclockwise to loosen it.
Apply steady pressure while turning the wrench, but be careful not to force it.
Keep loosening until the nut is completely free. - Remove the nut, washers, and collars.
- Carefully take off the old blade.
- Check for dust or debris buildup around the arbor area before installing the new blade.
This will help maintain proper contact between blade and arbor shaft. - Slide the new blade onto the drive spindle.
Make sure the teeth are pointed in the right direction.
They should point up at the front of the saw. - Replace the collars, washers, and nut.
- Re-tighten the arbor nut, moving the wrench in a clockwise direction.
Apply steady pressure until you feel resistance.
Ensure it's tight enough to hold the blade firmly during operation, but don’t over-tighten! It can cause damage to the nut and saw. - Check for firmness – Check to make sure there is no play or movement in the blade. If all is secure, you're done!
By following these steps, you can change the blade safely and efficiently.
FAQs About Changing Circular Saw Blades
How often should I change my circular saw blade?
Change your circular saw blade when it shows signs of wear: dull teeth, burn marks on cuts, increased resistance, tear-out, or noisy operation. The frequency depends on how often you use the saw and what materials you're cutting.
What tools do I need to change a circular saw blade?
You’ll need a wrench or Allen key that fits your saw’s arbor nut (usually provided with your saw). You may also need to press the blade lock button to hold the blade steady while loosening or tightening the nut. Always wear gloves and eye protection when handling blades.
Are there any safety precautions to consider when changing a circular saw blade?
Absolutely. Unplug the saw or remove the battery first. Wear gloves and safety glasses. Handle blades carefully by the sides (not the teeth), and make sure the saw is on a stable surface. Refer to your saw’s manual for any model-specific precautions.
How do I remove the old circular saw blade?
After disconnecting the power, engage the blade lock. Use your wrench to turn the arbor nut counterclockwise. Once loosened, remove the nut, washers, and old blade. Check for debris around the arbor before installing a new blade.
How do I install a new circular saw blade?
Position the new blade on the arbor with the teeth pointing in the correct direction (typically up at the front of the saw). Reinstall the washers and nut, then tighten it securely (clockwise). Verify there’s no blade wobble before plugging the saw back in or reinstalling the battery.
Can I use any type of circular saw blade with my saw?
No—you must use blades that match your saw’s arbor size and are rated for its RPMs. Using an incorrect blade can be dangerous and result in poor cutting performance. Always check your saw’s manual for compatible blade types and sizes.
What if the nut on my saw is stuck?
A light application of lubricant (such as penetrating oil) can help free a stuck arbor nut. Let it sit for a few minutes, then try again. If it remains stuck, consult your saw’s manual—some nuts are reverse-threaded depending on the saw model.
Can I use an old, dull blade for rough cutting jobs?
While tempting, using a dull blade—even for rough work—isn’t recommended. Dull blades overheat, strain your motor, and increase the risk of kickback. It’s safer and more efficient to swap in a blade appropriate for rough cutting (such as a framing blade) that’s still sharp.
Fun FAQ: Is it bad luck to put a new saw blade in backwards?
Not bad luck—just bad cutting! Installing a blade backwards won’t magically save dull teeth or make cleaner cuts—it will result in smoke, vibration, and possibly damage to your saw or material. Always follow the directional arrows on both the blade and the saw guard to get things spinning the right way!
And, in case you missed it the first 4 times:

Keep your shop safe with all our free downloadable safety posters.