Using a Table Saw Instead of a Surface Planer
Woodworking in a Limited Shop - Part 1:
Using a Table Saw Instead of a Surface Planer
Often we set limits for ourselves by telling ourselves that we can’t create certain pieces because we don’t have professional tools or jigs. But this is a barrier we create for ourselves. It shouldn’t limit the work you aspire to create.
With a few router bits, saw blades, jigs and templates, you can turn any one man show into a woodworking studio for developing custom projects. But so often, especially when first starting, we find ourselves trying to figure out how we can achieve the desired end result. When working with limited tools and raw materials, the first thing you need to do is break down your project into steps.
Before You Make Any Cuts, Plan for Waste
One of the most important elements to consider is waste. Generally, you should plan for at least 30% of your wood to go to waste in a project. With material maximization techniques, you can bring the number down a little with ‘square’ projects, but with ‘round’ projects the percentage of waste can be even higher.
Think of your wood as negative and positive spaces. The negative spaces are the waste and positive spaces are the pieces that will be used for your woodwork. Now, visualize the cuts that you want to make. Visualize the way that the wood will come together, making ‘one’ single piece from two.
During this process, keep in mind the additional waste generated by the blades and bits, as well as the shavings that result from straightening or flattening any angle or surface.
Using a Table Saw Instead of a Surface Planer
When surface or thickness planing wood for a project, the end product needs to be as clean and straight as possible. When working with wood, it has a tendency to move, warp, and bend as the tension is released from the material.
Because of this, it is a wise practice to leave enough material in your original chunk of wood to ensure that, should the wood start to warp during the process of flattening it, you can take it back to a planer or jointer to flatten and square one face again.
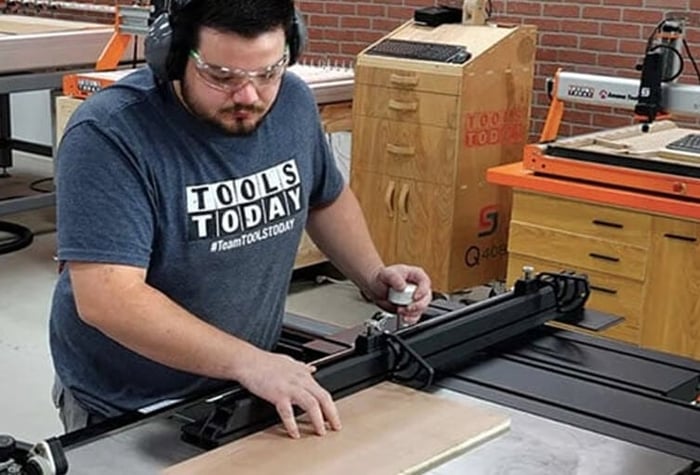
For smaller dimensions, this can be accomplished on a table saw.
For this to work, the height of the material can be no more than the height of your table saw blade at its full height from the table. You also need to account for the bow or curve of the lumber.
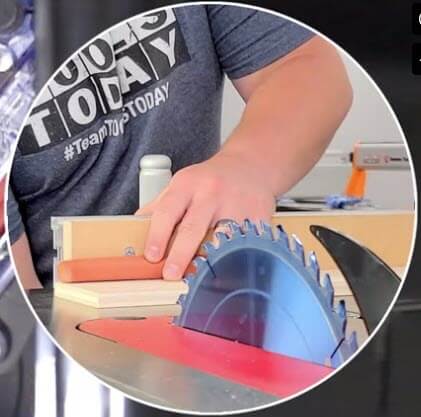
It is a very tricky operation and should only be attempted with the proper safety equipment, like blade-guards and kick-back protection that are adjusted properly and in working order.

Preparing Your Wood for the Table Saw
Start by locating the natural curve of the wood by sighting along the length of each face. When you find the curve or bow, with the crown or bow on top, mark each side with an arch going in the same direction as the wood bows. After doing this with your entire stock of wood for the project, plan the specific lengths that you will need.
Always plan for an extra few ‘generic’ pieces that can be used for multiple parts by cutting them down to the size you need later. Keep in mind that the straighter the pieces of wood, the less waste you will have and the longer the pieces you will be able to finish with when done flattening and straightening the wood.
Now place all of the wood facing the same direction - with the bow facing away from the fence on your table saw - on a cart or table next to your table saw and you are ready to start.
- You will need a saw blade on your saw that has rip-style teeth (long and few) so you don’t burn your work piece.
- Set the fence of your saw a distance from the blade so that it is at least ¾ of an inch greater than the width of your widest board.
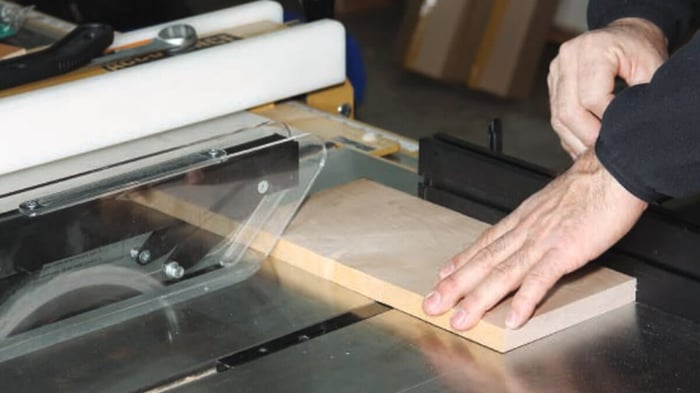
- Start with the widest board by cutting away the hump in the middle of the bow. As you do this, you should be able to see the mark that you made earlier. Do not force the wood. Hold the board tight and feed it slowly, trying to avoid binding against the blade. This is the most dangerous part of the whole operation and a kick-back guard is essential for safety.
- Run all of your sticks of wood through the saw and then reduce the distance between the fence and the blade by a 1/16 or an 1/8 of an inch and run them all through again.
- Continue this process until all the boards are roughly flat on one face and then flip them over 180 degrees and cut the ‘tips’ of the bow off of the other side of your sticks of wood.
- When all of the pieces are roughly the same width and semi straightened, start flipping the boards back and forth, all the while cutting away a tiny amount of material until all the boards are about the same width and as straight as you can get them with your table saw’s fence length. The longer the fence the better!
Now you have rough sawn lumber that is basically straight, having worked with the natural bow of the lumber as you trimmed it down. You are ready to move forward with your project.
On a final note: safety and common sense are paramount in working with a limited woodshop.
Right behind safety, is to be pleased and happy with your work. Don’t get discouraged! The more clear your vision is when you start the project, the more your project will replicate your initial vision when you are done.
You may also like:
Watch the SawStop Hot Dog Test in fullscreen.
Shop All Table Saws.


