Working with Epoxy - Tips and Tricks
Epoxy resin is a versatile material beloved by DIY enthusiasts and hobbyists worldwide. With its ability to create a high-gloss, durable finish, epoxy is ideal for a myriad of projects, from crafting jewelry to coating countertops. Whether you’re a beginner or a seasoned craftsman, navigating the world of epoxy can be a sticky affair. Here are some tips and tricks to help you work with epoxy and achieve professional-level results every time.
Watch How to Make Epoxy CNC Coat Rack in larger screen.
1. Safety First
Before diving into the epoxy adventure, ensure you’re equipped with safety gear. Wear gloves, goggles, and a mask to protect yourself from fumes and potential skin irritation. Work in a well-ventilated area, and keep your workspace clean and organized to prevent accidents.
 <- See our full set of free downloadable safety posters.
2. Measure Accurately
Achieving the perfect epoxy mix starts with accurate measurement. Be sure to measure the resin and hardener in the correct ratio as mentioned in the product instructions. Inaccurate measurements can result in a tacky finish and compromise the durability of your project.
3. Mix Thoroughly
Once measured, mix the resin and hardener slowly and steadily for at least two to three minutes. Ensure you scrape the sides and bottom of the mixing container to integrate all components. Avoid whipping too quickly as this can introduce air bubbles into the mix.
Watch Making a Kitchen Countertop CNC Epoxy Salvage Slab in full-screen.
4. Be Patient with Bubbles
Bubbles are a common adversary when working with epoxy. To combat them, let the mixed epoxy sit for a few minutes before application, allowing the bubbles to rise to the surface. Using a heat gun or a torch, gently pass over the surface to pop the bubbles and achieve a smoother finish.
5. Turn Up The Heat
Epoxy is sensitive to temperature, and its curing time can be affected by the ambient environment. Work in a room with a stable temperature between 70-75°F (21-24°C) for optimal results. Too cold, and the epoxy may not cure properly; too hot, and it may cure too quickly, affecting the finish.
You can find the long version of Epoxy Desk with Charger in fullscreen here.
6. Layer It Up
For deeper pours or thicker layers, avoid the temptation to pour all the epoxy at once. Applying epoxy in thin layers reduces the risk of bubbles and allows for better control over the final appearance. Allow each layer to partially cure before adding the next to achieve a seamless bond.
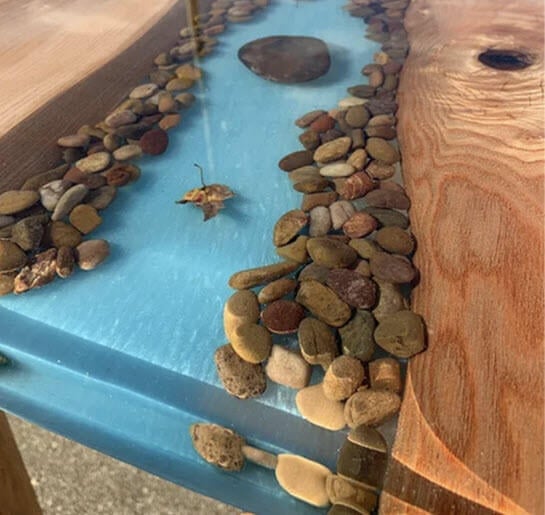
7. Customize with Colors
Epoxy’s versatility extends to customization. Add pigments, dyes, or even small objects like stones and shells to create unique, personalized pieces. Ensure that any additions are dry and free of moisture to avoid reactions with the epoxy.
Watch the long version of the Epoxy Pour Bookshelf, in full-screen.
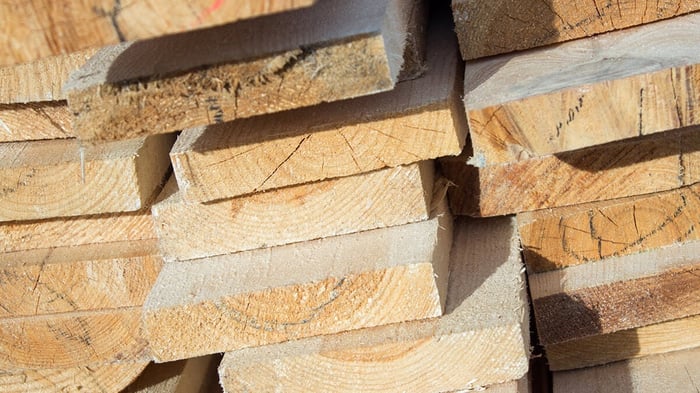
8. Seal the Surface First
Before applying epoxy on porous surfaces like wood, seal the surface with a thin coat of epoxy or a sealing primer. This step prevents air from escaping from the pores and forming bubbles in the epoxy.
9. Keep It Clean
After application, ensure the surface remains dust and debris-free while the epoxy cures. Covering the project with a protective barrier like a plastic sheet can help keep it pristine.
See Matt Make a 12 Foot Walnut Sign Using Shaper Origin and epoxy in full-screen
10. Sand and Polish
Once fully cured, sanding the epoxy with progressively finer grits of sandpaper can help achieve a glass-like finish. Finish with a polishing compound and a buffing wheel for that extra shine.
Common Mistakes When Working With Epoxy
Incorrect Mixing Ratios:
One of the most common mistakes is not mixing the epoxy resin and hardener in the correct ratio. This can lead to improper curing, resulting in a sticky or weak finish.
Incomplete Mixing:
Failing to mix the resin and hardener thoroughly can result in uneven curing and soft spots. It is essential to mix the components for the entire recommended time.
Bubbles:
Introducing air bubbles into the mixture and not removing them can affect the final finish. If you are not adding color / want a really clear pour, mix by hand, not with a mixer. Mixers add air bubbles. Using a torch or heat gun will help remove bubbles after pouring.
Temperature Issues:
Epoxy is super sensitive to temperature. If the working environment is too cold, it may not cure correctly. Conversely, if it’s too hot, the epoxy might cure too quickly, leading to a poor finish.
Moisture Contamination:
Epoxy does not bond well with moist or wet surfaces. Any moisture on the surface can result in a cloudy or weak bond.
Not Sealing Porous Surfaces:
Failing to seal porous surfaces like wood can result in air bubbles as the epoxy penetrates the material.
Over or Under Catalyzation:
Using too much or too little hardener can affect the curing process, leading to a finish that is either too soft or too brittle.
Applying Thick Layers:
Applying epoxy in thick layers can lead to an exothermic reaction, causing it to crack or yellow. It’s generally better to apply multiple thin layers.
Touching Before Curing:
Touching or moving the project before the epoxy has fully cured can lead to fingerprints, dust, and debris getting embedded in the finish.
Inadequate Safety Precautions:
Failing to use proper safety gear like gloves, masks, and eye protection can expose the user to harmful fumes and skin irritants.
How to Remove Epoxy from Skin or Other Surfaces
Removing epoxy from skin or other surfaces can be a bit challenging, but it is possible with the right approach. Here’s how you can go about it:
From Skin:
Acetone/Nail Polish Remover:
Use a cloth or cotton ball soaked in acetone or nail polish remover to gently rub the epoxy until it comes off.
Wash the area thoroughly with soap and water.
Moisturize the skin afterwards, as acetone can be drying.
Warm Soapy Water:
If the epoxy is not fully cured, you can try to remove it using warm soapy water and a cloth or sponge.
Gently scrub the area until the epoxy starts to peel off.
Vinegar:
White vinegar can also be effective. Apply it to the affected area with a cloth and rub gently.
Wash the area with soap and water after removal.
Citrus-Based Hand Cleaner:
Some people have success with citrus-based hand cleaners. Apply the cleaner and rub the skin gently until the epoxy is removed.
Mechanical Removal:
If the epoxy has hardened, you can try to gently peel or scrape it off. Be cautious not to damage the skin.
From Other Surfaces:
Acetone/Nail Polish Remover:
Acetone can be effective on non-porous surfaces like glass or metal. Apply with a cloth and rub gently.
Avoid using on plastic, as it can damage the surface.
Scraping/Sanding:
For hard surfaces like wood or concrete, you may need to scrape or sand the epoxy off.
Be cautious as this method can damage the surface finish.
Heat:
Applying heat with a heat gun can soften the epoxy, making it easier to scrape off.
Exercise caution to avoid burns and damage to the surface.
Vinegar:
For smaller spills on hard surfaces, white vinegar can also be used to remove epoxy.
Commercial Epoxy Removers:
There are commercial epoxy removers available that can be effective, but they should be used with caution and according to the manufacturer’s instructions.
Safety Precautions:
Wear Protective Gear: When working with chemicals like acetone or commercial removers, wear gloves and work in a well-ventilated area to avoid inhaling fumes.
Avoid Skin Contact: Try to prevent prolonged skin contact with chemicals and wash the skin thoroughly after removal.
Test on a Small Area: If using on a surface, test any chemical solution on a small, inconspicuous area first to ensure it does not damage the material.
Remember, the sooner you address the spill, the easier it will be to remove the epoxy.
Conclusion
Working with epoxy doesn’t have to be a daunting task. By following these tips and tricks, DIY enthusiasts and hobbyists can create beautiful, durable projects with ease. Remember, patience is key when working with epoxy, and the reward is a finished product that you can be proud of.