How to Apply Laminate to MDF for Stunning Cabinet Doors
Listen to article
Audio generated by DropInBlog's Blog Voice AI™ may have slight pronunciation nuances. Learn more
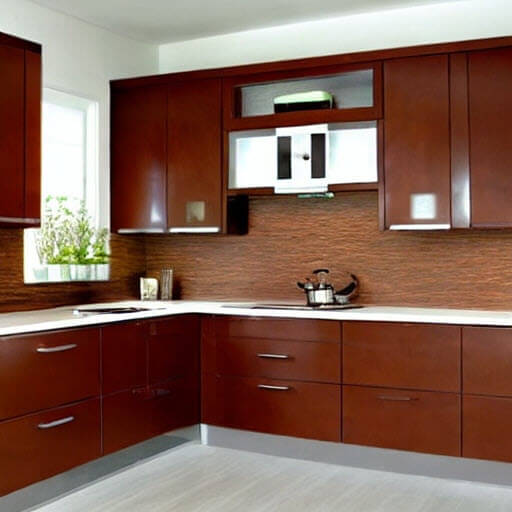
Applying laminate to MDF to make a cabinet door can give your cabinets a fresh, modern look, and it's a great way to protect the MDF from wear, tear, and moisture. Here's a step-by-step guide:
Materials:
- MDF board (cut to the desired size for your cabinet door)
- Laminate sheet (larger than your MDF board)
- Contact adhesive (solvent-based or water-based, but solvent-based is often stronger)
- J-roller or laminate roller
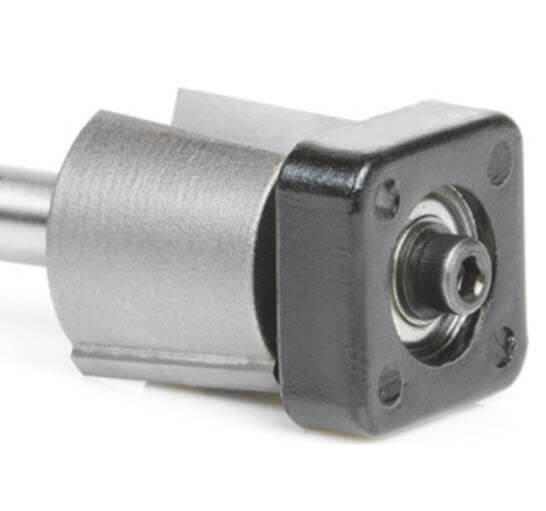
- Router with an Amana laminate trim router bit
- Paintbrush or foam roller (for applying adhesive)
- Dowels or thin wooden strips
- Fine-grit sandpaper
- Scissors or a laminate cutter
- Clean rags
- Masking tape
Instructions:
- Preparation: Start with a clean, dust-free environment. The MDF should be dry and smooth. Lightly sand the surface of the MDF with fine-grit sandpaper to ensure good adhesion.
- Cut Laminate: Cut the laminate sheet so that it's slightly larger than the MDF board on all sides.
- Measure the dimensions of the MDF board and then transfer those measurements onto the laminate sheet. Remember, you want the laminate to be slightly larger than the MDF, so add about an inch (or at least a few centimeters) to each side. Use a carpenter's pencil or a marker to make your marks.
- Use a straightedge or T-square to ensure straight lines.
- Place masking tape along the lines. This can help reduce chipping when you cut.
- Using a sharp utility knife, score the laminate sheet along your marked lines, using the straightedge as a guide. Apply steady pressure, but you don't need to cut all the way through in one pass. You can make multiple passes to deepen the score. This method works best for straight cuts. If you're planning to snap the laminate after scoring, ensure the score is deep.
- Alternatively, for more intricate custs or if you prefer not to snap the material after scoring, you can use a jigsaw or circular saw with fine-toothed laminate blade. Cut from the back (the side without the decorative surface) to reduce chipping on the visible side.
- Support the laminate well on both sides of the intended cut to prevent unnecessary vibrations.
- Snapping (for straight cuts): If you've scored deeply and are making a straight cut, you can just "snap" the laminate. Place the laminate over the edge of a table or workbench, with the scored line just slightly off the edge. Apply a quick downward pressure to snap it along the scored line. - Apply Adhesive: Stir the contact adhesive and apply it to both the MDF board and the backside of the laminate sheet using a paintbrush or foam roller. Ensure you have an even and thin coat.
- Wait: Allow the adhesive to become tacky. This can take anywhere from 5 to 20 minutes depending on the adhesive and the environment. The adhesive is ready when it feels dry to the touch but still sticky.
- Positioning: To avoid the laminate sticking immediately to the MDF (and potentially in the wrong position), place dowels or thin wooden strips across the MDF board at regular intervals. Lay the laminate sheet on top of the dowels.
- Adhere Laminate: Starting from the center, carefully remove one dowel at a time and press the laminate onto the MDF. Use the J-roller to press the laminate down, working your way outwards to remove any air bubbles and ensure a tight bond.
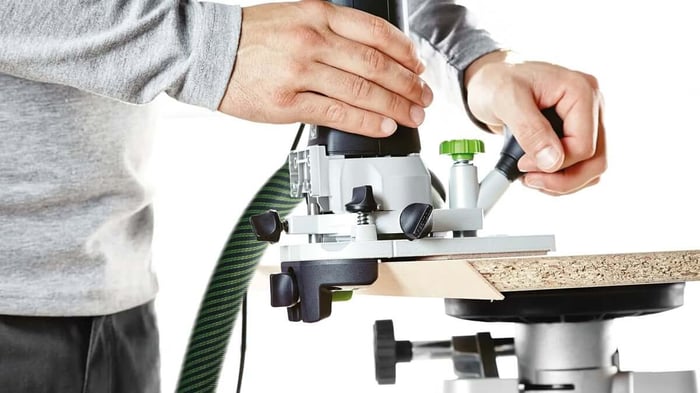
- Trim Edges: Using a router with an Amana laminate trim bit, trim the excess laminate from the edges of the MDF board. This will give you a clean, flush edge. (For more on this, read our guide Best Router Bits for Trimming Laminate.)
- Finishing Touches: Lightly sand the edges to ensure there are no sharp points or rough areas. For an extra touch, you can add edge banding to the sides of the MDF to give it a more finished appearance.
- Install: Attach hinges, knobs, or handles as desired and mount the door to your cabinet.
Remember to use the laminate in a well-ventilated area, especially if you are using solvent-based adhesives, as they can emit harmful fumes. Always follow the manufacturer's instructions for best results.