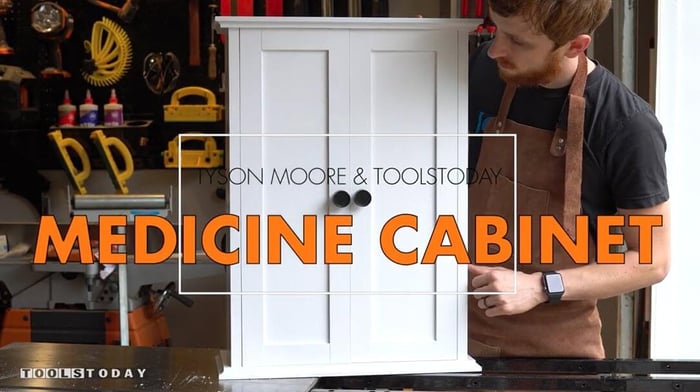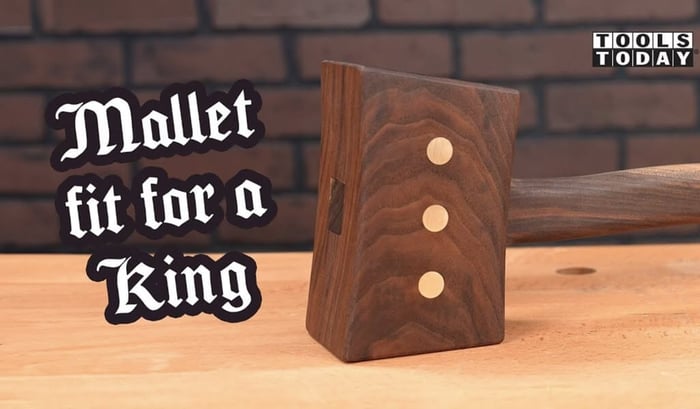
A Wooden Mallet Fit For A King, Using Your CNC Router
Unlike metal hammers that can dent and mar wood surfaces, this mallet allows for precise assembly of wood joints and driving in wooden dowels without leaving unsightly marks. The combination of walnut and brass creates a stunning visual contrast, making it one of our favorite projects to date.
Led by woodworking expert Matt Plumlee, this guide offers detailed steps and practical tips to create a functional masterpiece. Or, watch the video in fullscreen here.

Step 1: Design in Vectric VCarve Pro Software
Begin by selecting a high-quality piece of wood, ensuring its suitability for the task at hand. With an eye for detail, Matt meticulously examines the wood's surface, marking any imperfections for later consideration.
Using Vectric VCarve Pro Software, he imports an image of the wood and defines the work area, setting the stage for precision design. Aligning the digital blueprint with the wood's contours, Matt strategically positions the mallet handle and head, maximizing both aesthetics and functionality.

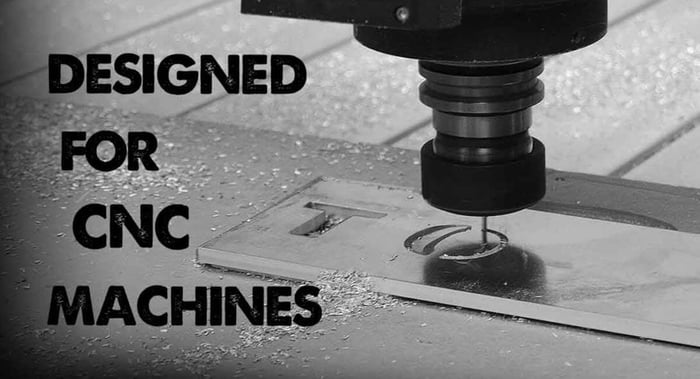
Step 2: Precision Cutting with the STEPCRAFT D.840
With the design meticulously crafted, it's time to bring it to life through precise machining. Matt begins by securing the walnut piece to the wasteboard using XFasten Double Sided Woodworking Tape, ensuring stability throughout the cutting process.
For this task, he relies on the power and precision of the STEPCRAFT New 3rd Generation D.840 CNC Machine System. Equipped with the Amana Tool 46350-K quarter inch diameter mortise compression bit, he's ready to transform wood into art.
Before diving into the main cut, our craftsman meticulously tests hole sizes for the ferrule and brass rod, ensuring a snug fit for seamless assembly. With precision and patience, he fine-tunes the settings to achieve the perfect balance of accuracy and efficiency.
Harnessing the unique capabilities of the mortise compression bit, our craftsman ensures clean cuts with minimal material waste. Despite the challenges posed by one-inch thick walnut, the CNC machine rises to the occasion, effortlessly carving through the dense wood with power and precision.
Though tempted to push the limits, Matt opts for a conservative approach, dialing in the settings to achieve optimal results. At 100 inches per minute, the machine delivers flawless cuts, showcasing the perfect marriage of technology and craftsmanship.

Step 3: Finishing Touches
With the pieces meticulously cut, our craftsman turns his attention to refining the details that elevate a simple mallet into a work of art. Armed with a multi-tool, he delicately removes the tabs, revealing the pristine surface left behind by the mortise compression bit.
Transitioning to the SawStop RT-TGP 27" In-Line Cast Iron Router Table, he selects a half inch flush trim bit to remove the tabs, ensuring a flawless finish. With precision and finesse, he navigates the router table, effortlessly refining each edge to perfection.
To impart a touch of comfort to the handle, our craftsman selects the Amana Tool 49543 3/8th inch radius four flute round-over bit. With the aid of the Micro Jig Grr-Ripper, he maintains control and stability, ensuring safety and precision throughout the routing process.
Unlike conventional push blocks, the gripper's height-adjustable foot provides stability on thin pieces, allowing our craftsman to achieve impeccable results without compromising safety. With meticulous attention to detail, he completes the profile on the handle, marveling at its ergonomic design and unparalleled comfort.
As the finishing touches are applied, our craftsman revels in the tactile sensation of the handle, a testament to his skill and dedication to craftsmanship. With minimal sanding required, the handle stands as a testament to the seamless fusion of form and function, ready to accompany its owner on countless woodworking endeavors.

Step 4: Crafting Brass Inserts
Before the mallet assembly begins, precision cuts are essential for the brass pieces. Our craftsman meticulously stacks the wood materials, considering the blade's thickness to determine the cutting depth.
With precision as his guide, he secures the brass firmly in place using a vise, guaranteeing stability throughout the cutting process. Employing the Fein MultiMaster with a Fein Starlock E-Cut Carbide Pro Blade, he initiates the cuts, aligning the blade against the wood for flawless precision.
These brass inserts not only aid in assembly alignment but also add a touch of sophistication and weight to the mallet. With each slice, our craftsman visualizes the final product, an impeccable fusion of practicality and elegance.
In total, three half-inch brass rod pieces and a brass tube for the ferrule undergo meticulous cutting. Before assembly, each brass component undergoes preparation, including roughening with 120 grit sandpaper and cleaning with rubbing alcohol, ensuring optimal adhesion during assembly.
As the brass inserts are perfected, our craftsman eagerly anticipates the metamorphosis of raw materials into a timeless work of art, ready to fulfill its purpose in the hands of a discerning woodworker.

Step 5: Assembling and Finishing the Mallet
With the precision pieces ready, our craftsman embarks on the final stages of assembly. He begins by hammering the brass ferrule onto the end of the mallet handle, ensuring a secure fit. Applying Titebond III Ultimate Wood Glue to the mallet's face, he carefully positions the interior pieces before repeating the process for the outer faces.
Utilizing Starbond Gap Filler Thick CA Glue on the brass rods, our craftsman twists them in place, ensuring even distribution of glue and effortless alignment. With the pieces clamped securely using Bora 571118T 18-Inch Parallel Clamps, he cleans up any excess glue and prepares for the finishing touches.
Turning his attention to sanding, our craftsman meticulously smooths the mallet's surfaces, removing imperfections and preparing for the final finish. With each pass, he reveals the beauty hidden beneath the wood's surface, eagerly anticipating the unveiling of the finished product.
Using the Amana Tool 49544 four flute eighth-inch radius roundover bit, he rounds over the flat edges of the mallet head, adding a touch of refinement to the design. The brass surfaces are meticulously treated with 320 grit sandpaper, creating a brushed look that complements the wood's natural beauty.
For the finishing touch, our craftsman opts for boiled linseed oil, a timeless choice known for its ease of application and tactile warmth. As the oil seeps into the wood, enhancing its grain and color, our craftsman admires the subtle contrast provided by the hint of sapwood in the handle.
After allowing the oil to soak in, our craftsman returns to wipe away any excess, revealing the true beauty of his craftsmanship. With each stroke, the mallet's elegance is brought to life, a testament to our craftsman's dedication to perfection.

Done: The Perfect Wooden Mallet
In conclusion, the handle of this mallet was carefully crafted after Matt's trusty hatchet handle, known for its versatility and comfort in light chopping and hammering tasks. Its ergonomic design ensures ease of use in both directions, offering unparalleled comfort during woodworking endeavors.

For those inspired to make their own mallet , the plans for this project and all the tools used in this video are available on our website. Be sure to check them out and start crafting your own masterpiece today.