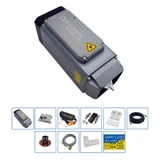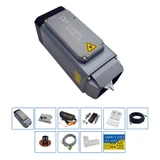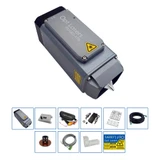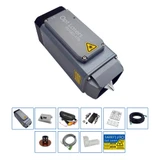


PRODUCT DETAILS
Click an item to expand and learn more
-
-
-
-
Is the PLH3D-XT8 compatible with my CNC machine?
The PLH3D-XT8 is compatible with most CNC machines, including those from popular brands like X-Carve, Shapeoko, Stepcraft. It can be mounted using the included universal mount or LaserDock. Compatibility with your CNC controller is ensured via the PLH3D-CNC Adapter Pro, which supports PWM, TTL, and analog inputs (0–3V, 0–5V, or 0–24V).
What materials can I cut or engrave with the XT8?
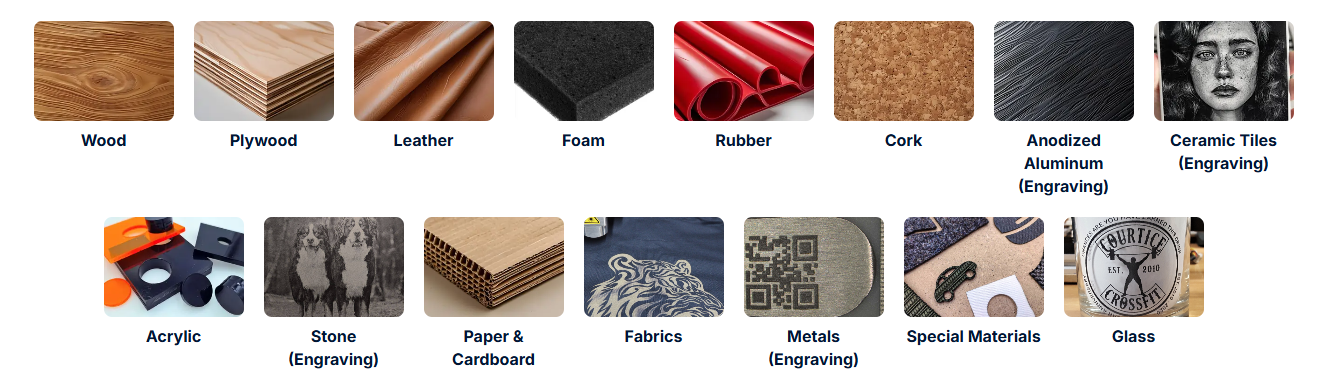
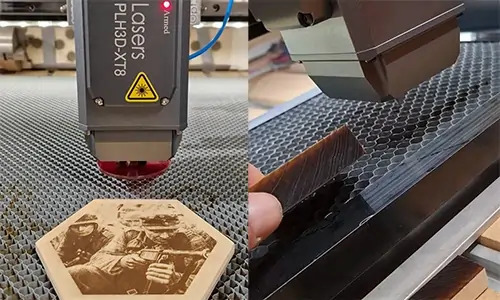
The XT8 can cut or engrave wood, plywood, MDF, leather, rubber, textiles, foam, acrylic, and many more. It can also engrave on coated metals and some bare metals (with angle adjustment). Its powerful ~45 W optical beam enables single-pass cutting on thinner materials and multi-pass cutting for thicker stock.
How long does it take to install the laser kit?
Initial installation takes ~30 minutes. With the magnetic LaserDock PRO system, daily attaching/detaching takes seconds. All connectors are Plug&Play and supplied in the kit.
Is the focal length automatic or manual?
The kit includes a Height Reference Tool for fast manual focusing. Place it on the material and set the laser to the nominal 21 mm working distance. For cutting, adjust depending on material thickness.
How does the laser connect to my machine?
The XT8 connects via the PLH3D-CNC Adapter Pro, supporting TTL, PWM, and analog inputs. A 24 V power supply and all cables are included.
Does the XT8 support air assist?
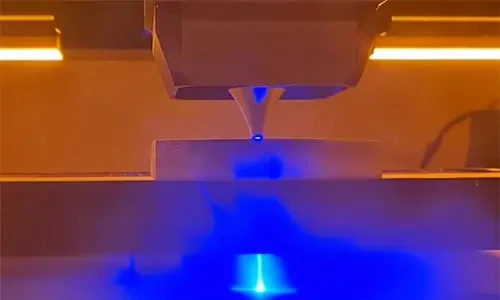
Yes — the XT8 features a built-in adjustable High-Pressure Air Assist Nozzle to boost cutting speed/quality by clearing debris and cooling the cut. It works with common small compressors (recommended real airflow ~10–15 l/min for most materials).
How safe is the PLH3D-XT8 to use?
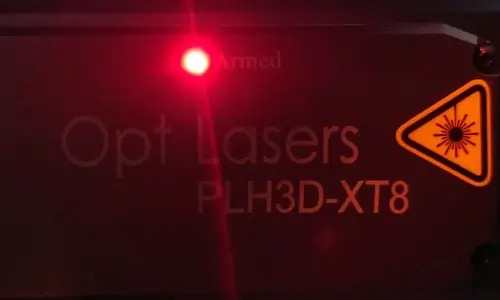
The XT8 has overheat protection and should be used with CE-rated laser safety glasses (OD7+ for 190–540 nm). It automatically shuts off at 58 °C and resumes at 50 °C. Always follow laser safety standards (e.g., ANSI Z136.1).
How long will the XT8 laser head last?
Typical operating lifespan is 20,000–30,000 hours. If a diode fails, the unit can often be repaired by diode replacement. Clean optics regularly and ensure proper airflow for best longevity.
Can I engrave reflective materials?
Yes, but tilt the workpiece (or laser) by ~7° so the reflection does not return to the diodes. For metals in general, introduce a slight tilt and ensure the beam is angled away from the operator. Always wear OD7+ glasses.
Do I need special software to run the XT8?
Use any CAM that outputs G-code: LightBurn (recommended), Vectric, Fusion 360, or free tools like LaserGRBL. LightBurn provides advanced control, image engraving, and easy setup with our presets.
What are the key technical specifications?
- Maximum optical power: 45 W; typical: 38–43 W
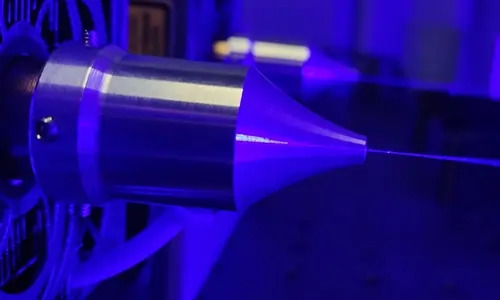
- Wavelength: 450 ± 10 nm; focused spot <180 µm
- Working distance: 21 mm
- Power supply: 24 V, min. 8.5 A; max. consumption 170 W
- Modulation inputs: PWM/TTL/Analog (0–3/5/24 V supported)
- Recommended PWM base frequency: 1–5 kHz (up to 10 kHz bandwidth)
- Head weight: ~1150 g (with LaserDock: ~1330 g)
- Max ambient temperature: 40 °C
How should I set focus for engraving and cutting?
- Engraving: Set the nominal working distance to 21 mm using the Height Reference Tool for quick, repeatable focus.
- Cutting (thin 1–6 mm): Focus so the smallest spot sits near the middle of the material thickness (start at 21 mm, then lower by half the thickness).
- Cutting (thick >6 mm): Cut layer-by-layer, lowering the head slightly after each pass; avoid hitting the work with the nozzle. Some materials (e.g., birch plywood, MDF, PU foam, pine) can be cut thick in one pass with the nozzle close to the surface (without touching).
What are the two power modes, and when should I use them?
- Mode “I” (50%): ~0–20 W range for detailed grayscale engraving and fine shading.
- Mode “II” (100%): full-power for high-speed black-and-white engraving and efficient cutting, including thicker materials.
Which control signals and PWM settings are supported?
The XT8 accepts PWM/TTL/Analog control: 0–3 V, 0–5 V, and 0–24 V on Mod Input #2 (PWM). Use a base PWM frequency of 1–5 kHz (higher frequencies can yield smoother grayscale). Logic “high” is ≥3 V; “low” ≤0.8 V. Do not connect signals to both analog and PWM inputs at the same time (they share ground).
What compressor and airflow should I use for Air Assist?
Recommended compressor real airflow: 10–12 l/min with a ≥50 L tank for comfortable operation. Many users succeed with smaller units (e.g., 5 L), but results vary. Fit a filter and oil separator; in humid climates add an air dryer to avoid water droplets. Airflow setpoints: cutting ~5–15 l/min; engraving ~1–5 l/min. Avoid exceeding ~15–20 l/min as it may reduce cutting speed. A flowmeter is highly recommended.
Any tips for cabling and LaserDock PRO mounting?
Secure the rear cable holder, then plug the cable firmly into the XT8. For direct use, connect the other end to the Adapter PRO. With LaserDock PRO, mount the Laser-Side Part using four M4 screws aligned to your spindle position, then plug the short cable and air hose.
How do I maintain the heatsink and optics?
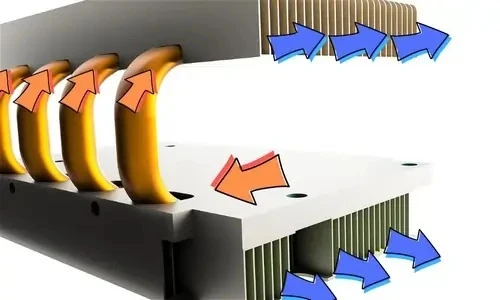
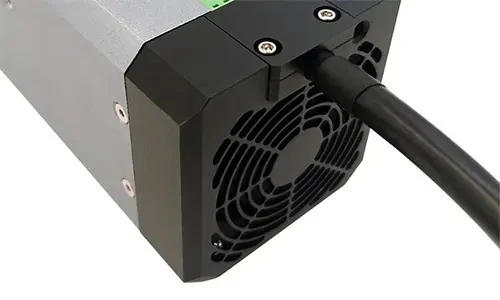
- Heatsink: Blow compressed air through the heatsink regularly (especially after smoky jobs). Avoid overspinning the fan. For deeper cleaning, remove the front cover ~every 100 hours.
- Air Assist / Nozzle: Always use the air-assist nozzle with a steady, dry, oil-free airflow during cutting and engraving. It keeps smoke and debris away from the optics, helping to keep the protective window and main lens clean and reducing how often cleaning is needed.
- Optics: Inspect the protective window before each use and clean ~every 100 hours. Replace the protective window if damaged (spare available). The main lens should also be cleaned ~every 100 hours.
- Cleaning agents: Use only 99.9% anhydrous IPA and proper lint-free materials. Avoid “rubbing alcohol” (~70% IPA + water) and typical eyeglass/microscope wipes (can leave residues). Apply only enough force to remove contamination to protect coatings.
 Download Manual Instructions PDF
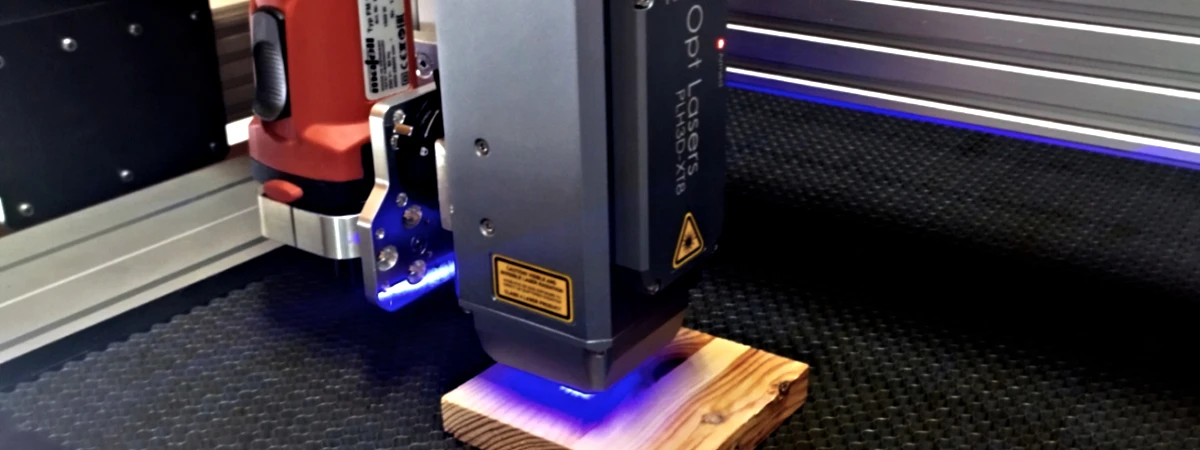
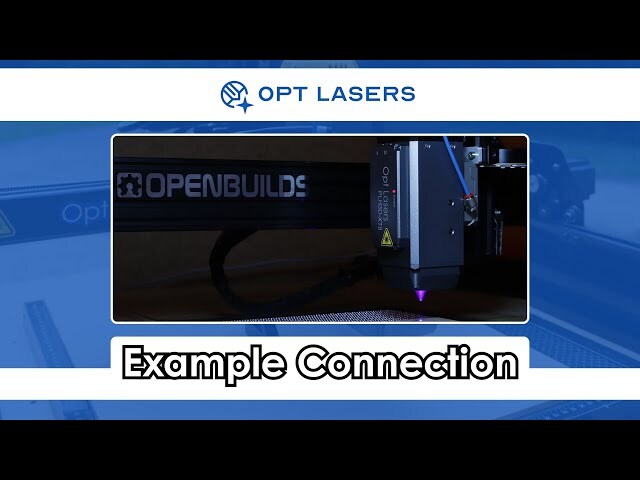 Opt Lasers PLH3D-Series Laser Head Plug&Play Kit Installation (Example)