

PRODUCT DETAILS
Click an item to expand and learn more
-
-
-
-
Is the PLH3D-XT-50 compatible with my CNC machine?
Yes. XT-50 works with most hobby and pro CNC routers and engravers. The kit includes the PLH3D-CNC Adapter Pro, which accepts common controller outputs (PWM/TTL/Analog up to 24 V) and provides safety interlocks. Mechanical mounting is via the dedicated plate or LaserDock PRO.
What is XT-50 best for and which materials can it process?
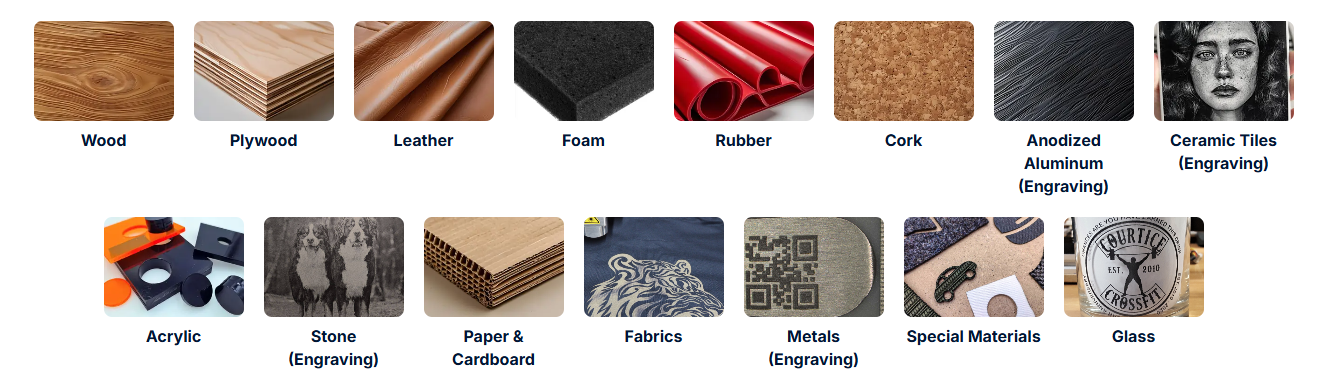
XT-50 (6 W) is optimized for ultra-high-detail engraving and precise thin-material cutting. Typical materials: wood, plywood/MDF, leather, textiles, cardboard, rubber, plastics (e.g., ABS, acrylics), laminates/foils, painted or anodized metals. It marks stainless steel and titanium and engraves anodized aluminum.
What are the key technical specs (resolution, spot, power)?
- Optical power: 6 W (blue, ~450 nm)
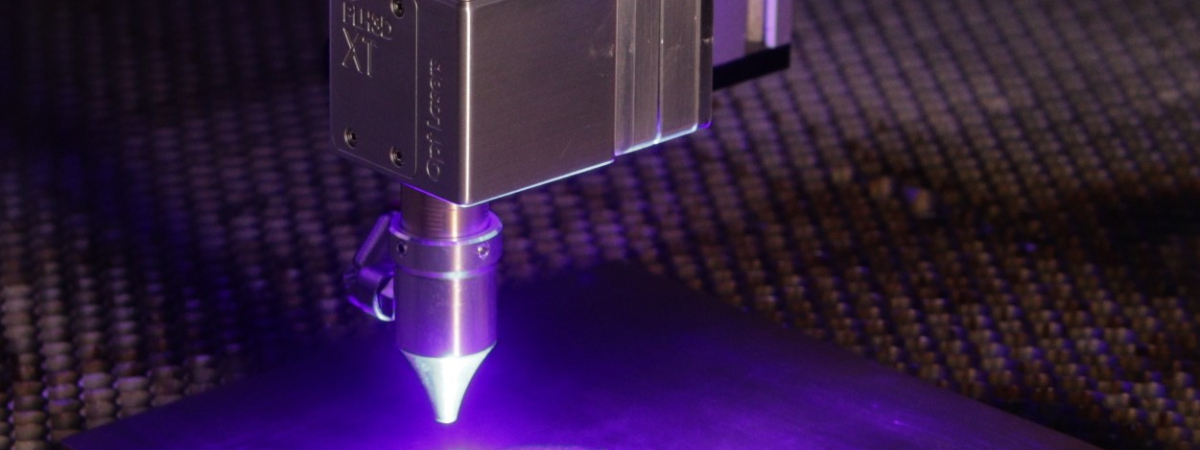
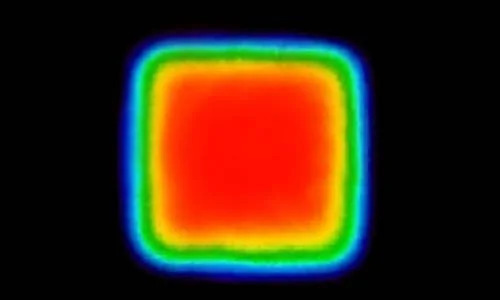
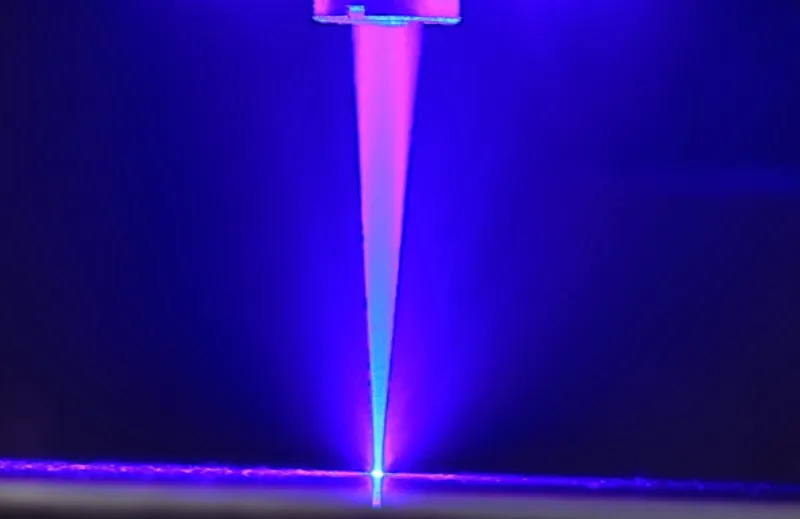
- Spot/resolution: ~45–50 µm square spot (> 500 DPI), adjustable with Z
- Supply: 12–24 V DC (via Adapter Pro); max consumption ~30 W
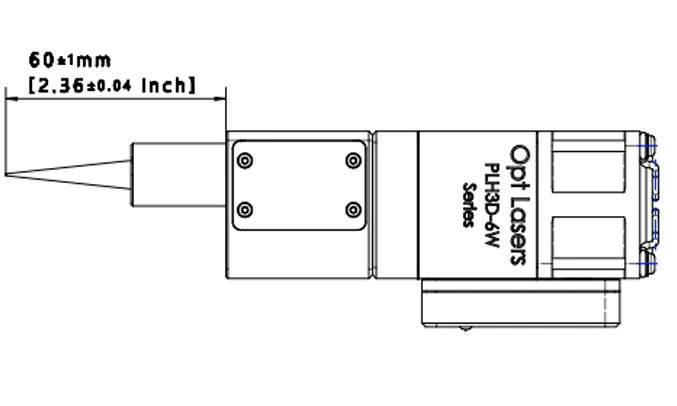
- Size/weight: 40 × 55 × 140 mm; ~0.37 kg
How thick can XT-50 cut and what does it excel at?
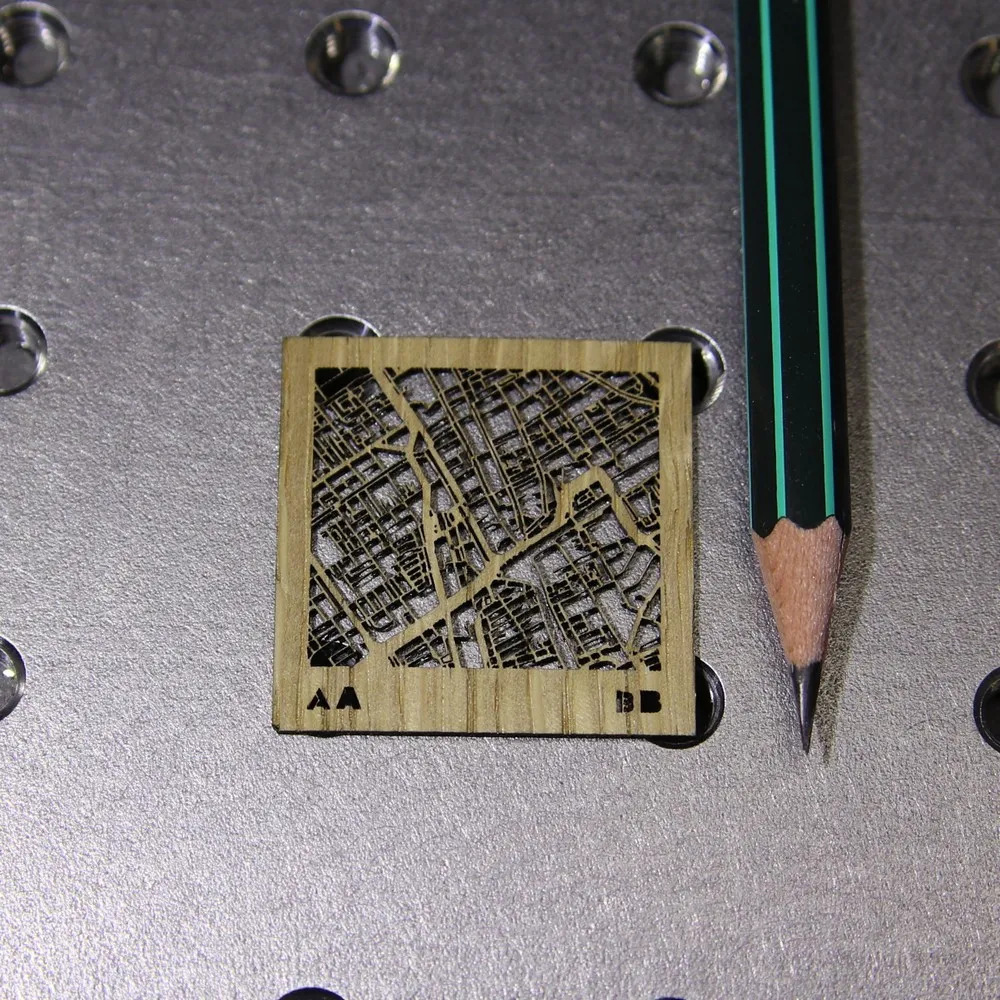
XT-50 is ideal for thin, accurate cuts (e.g., veneers, paper, card, thin fabrics, thin balsa/ply). Typical single-pass wood cuts are up to ~3 mm depending on species and air-assist. For thicker stock or production-grade cutting, consider the XT8. Use air-assist for cleaner edges and faster throughput.
What is the working distance and how do I focus?
Nominal working distance (WD) for XT-50 is 60.0 mm from the head’s front face to the work surface. Use the included Height Reference Tool for quick, repeatable setup: place the tool on material, jog Z until the head touches it lightly, remove the tool, and you’re in focus.
Does XT-50 support High-Pressure Air Assist and how should I set it?
Yes. The XT-series High-Pressure Air-Assist Nozzle improves speed and edge quality and protects optics. Start with ~1–3 l/min for fine engraving and ~10–15 l/min for cutting. Aim the jet slightly ahead of the beam, ~1–3 mm above the surface. Use clean, dry air (filter + oil separator recommended).
Is the XT-50 kit truly Plug & Play and how long is the install?
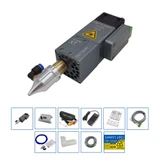
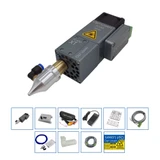
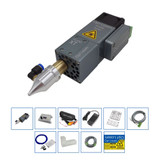
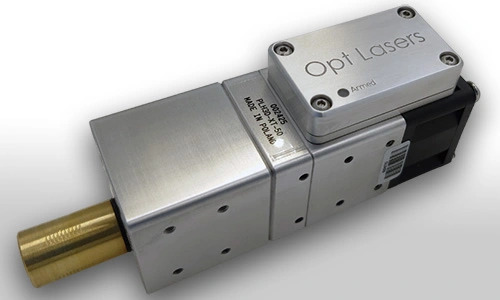
Yes. The kit includes the XT-50 head, PLH3D-CNC Adapter Pro, mount, PSU, safety glasses, signal cable, laser head cable, Height Reference Tool, the air-assist nozzle, stickers and screws. Typical first-time installation takes < 1 hour. With LaserDock PRO, daily attach/detach takes seconds.
Which control signals and PWM settings should I use?
Use your controller’s laser/spindle output into the Adapter Pro. Supported: PWM 0–5/0–10/0–24 V or Analog 0–5/0–10 V. Recommended PWM base frequency: 5–10 kHz for smooth grayscale. Do not connect both Analog and PWM simultaneously.
How do I arm the system and run a safe first-light test (Adapter Pro)?
Turn the Adapter Pro key switch ON, then press the knob to enter ARMED. For a quick hardware test (no CNC), use TEST MODE to emit a very low duty cycle while holding the knob. Always wear OD7+ goggles and keep the work area ventilated.
I use the 5-pin laser cable — any Adapter Pro setting I should change?
Yes. In the Adapter Pro Advanced Settings, set STATUS INPUT to “ignored” for 5-pin heads (the ST pin is unused). This avoids false status readings.
What safety features should I know about?
XT-50 includes temperature protection and a fast driver for stable modulation. Use OD7+ goggles (190–540 nm), shielding/interlocks, and keep bystanders protected. The Adapter Pro adds a key lock, ARMED state, status LEDs/OLED, and error-driven disarming.
Can I engrave metals and how do I avoid reflections?
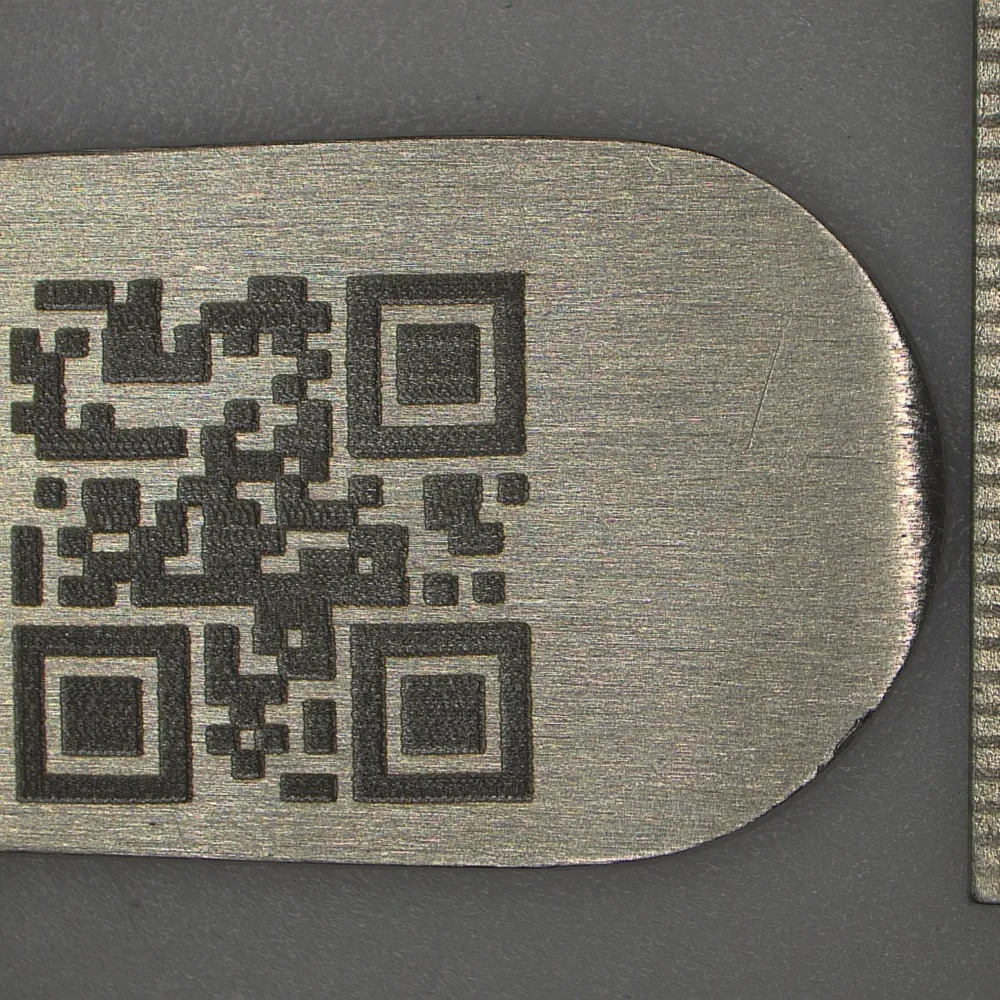
XT-50 marks stainless steel and titanium and engraves anodized aluminum. For reflective workpieces, tilt the part ~7° so specular reflections can’t return to the diode. Always wear OD7+ glasses.
How do I maintain the optics and nozzle?
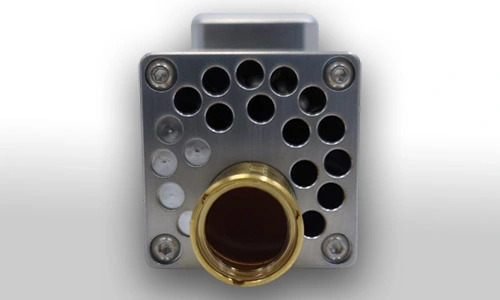
Inspect the protective window regularly and clean about every ~100 h (or sooner in smoky jobs) using 99.9% IPA and lint-free swabs; avoid generic eyeglass wipes. Keep the air line dry (filter + oil separator); the nozzle keeps smoke away from the window and prolongs intervals between cleanings.
Do I need special ventilation or fume extraction?
Yes, ensure good ventilation or fume extraction, especially for plastics and resinous woods. Air-assist reduces smoke at the beam, but vapors must still be removed from the workspace. Always follow local safety regulations.
What software can I use?
Any G-code workflow with laser-compatible PWM output works (e.g., LightBurn, LaserGRBL, Vectric, Fusion 360 with post). Configure your controller’s laser mode and PWM scale per the head/Adapter manuals.
How does XT-50 compare to XT8?
- XT-50 (6 W): photo-grade detail, micro-features, thin cutting, WD ~60 mm.
- XT8 (45 W): fast cutting/engraving and thicker materials; different WD. Both use the same Adapter Pro workflow; choose based on whether precision detail (XT-50) or throughput/thickness (XT8) matters more.
What’s included—do I need anything else to start?
The kit includes: XT-50 head, PLH3D-CNC Adapter Pro, mount, PSU, safety glasses, signal/head cables, Height Reference Tool, air-assist nozzle, stickers and screws. Optional but recommended: LaserDock PRO (quick on/off) and a small compressor for air-assist.
Any cabling tips for clean signals and long life?
Leave a small service loop for Z; route the laser cable in existing chains; tie every 20–30 cm; avoid long parallel runs with spindle/VFD or stepper bundles; cross at 90°. Ensure connectors are fully seated and strain-relieved.
Can I keep my spindle installed and swap to laser quickly?
Yes. With LaserDock PRO the laser head docks magnetically in seconds. Keep the spindle powered off/disabled during laser operation and ensure the beam path and air line are clear.
Nothing fires—how do I troubleshoot quickly?
- Adapter Pro key ON, state ARMED, no error on OLED/LEDs
- PWM input shows activity when sending M3 S…
- GND and PWM wired to the right inputs; no 24 V on signal pin
- Laser cable fully seated at both ends; WD set correctly
- Try Adapter’s TEST MODE at very low duty cycle
What about warranty, service and spare parts?
XT-50 is serviceable; optics and protective windows are replaceable.
What should I check when the kit arrives?
- XT-50 head with protective window installed
- PLH3D-CNC Adapter Pro + PSU and AC plug set
- Mounting plate + screws; cables (signal + head)
- Height Reference Tool; Air-Assist Nozzle
- Laser Safety Glasses; stickers; quick guide/manual links
Is it really easy to add a laser to my CNC?
Yes—this is a plug & play kit: mount the plate, connect PWM/GND and power to the Adapter Pro, set WD with the Height Tool, and run the first-light test. Daily use is even faster with LaserDock PRO. No hidden parts required.
Do I need LaserDock PRO or can I hard-mount the head?
You can do either. Hard-mount works great if the laser stays on the machine. LaserDock PRO is recommended if you frequently switch between spindle and laser—it shortens setup to seconds and protects connectors.

 Download Manual Instructions PDF
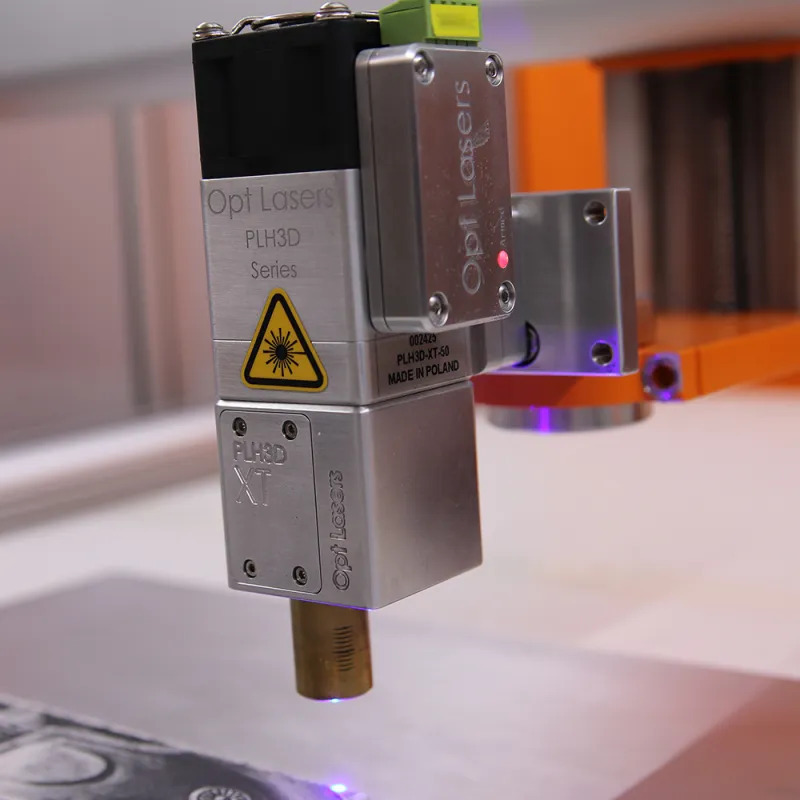
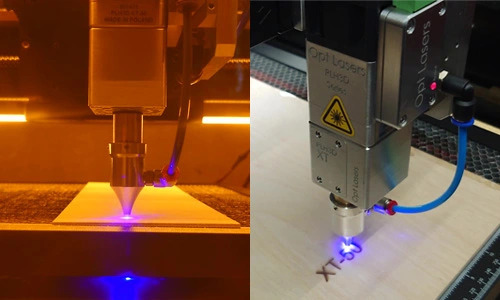
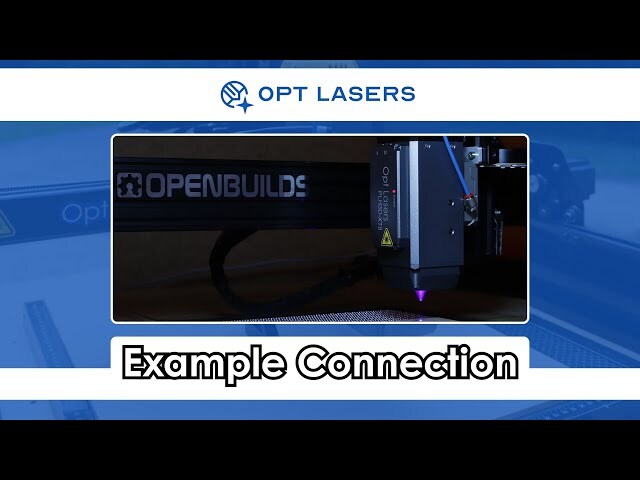 Opt Lasers PLH3D-Series Laser Head Plug&Play Kit Installation (Example)