PRODUCT DETAILS
Click an item to expand and learn more
-
Woodpeckers 6-In-1 Gauges give you a physical reference for measurements to eliminate the errors that can crop up when reading scales. With a series of shoulders, pins and stops, you have several different ways to physically reference a set dimension. This handy device comes in two different sizes. For pocket-sized convenience, there’s the 6-in-1 Pocket Gauge and for increased capacity there’s the 6-in-1 Shop Gauge.
At the heart of a 6-In-1 Gauge is a pair of stainless steel gear racks. When you adjust the tool, the gear teeth engage, locking the two halves together at perfect 1 /32" (or 1mm) steps…get it close and the rack will do the rest. For instance, if you need to set a dado blade for a 15/32" depth of cut, just move the sliding block up until you’re just short of a half inch. Lock the knob and you’ll see that the gears mesh perfectly at 15/32" as the knob tightens. If you prefer to work in metric measurements, just take the gear racks off, flip them over and now the rack will lock at perfect 1mm intervals. It’s great if you work in metric all the time…it’s even better if you don’t! Don’t spend time trying to work conversions when fitting something metric, just flip your racks, make your setting and move on.
Six Different Ways to Deliver Layout Precision
1. Saw Blade & Router Bit Depth of Cut. With the feet on your table surface, the sliding block gives you a physical reference to set your saw blade or router bit.
2. Drill Bit Stop Collars. Turn the tool over and you’ll see a vee-block. Use that to cradle your drill bits while you set a stop collar.
3. Marking Gauge. Move the sliding block past the feet and you have a marking gauge. There’s a notch to keep your pencil properly positioned.
4. Depth Gauge. Need to check a rabbet to make sure it’s deep enough? Use the flat end of the sliding block to measure from the feet down to the bottom of the rabbet.
5. Centering Gauge. Put the feet on opposite sides of a board and twist the gauge so both feet are firmly in contact with the board surface. The 1mm hole in the Base will be at the exact center of the board. Put a mechanical pencil in the hole and you can slide along the length, scribing the center perfectly.
6. Hole and Groove Depth Gauge. Last but not least, there’s a 1/8" diameter rod with a scale to read the depth of any hole or groove too small for the sliding block.
The 6-IN-1 Pocket Gauge has an adjustment range of 4-1/4". The depth rod on the Pocket Gauge will reach 2-1/8". The depth rod on the Shop Gauge will reach 3". You have your choice of larger capacity with the Shop Gauge or convenience with the Pocket Gauge. Both sizes include a wall-mountable Rack-It™ to store your 6-IN-1 when it’s not in use. Or, save some money by getting them both.
Like all Woodpeckers products, the 6-IN-1 Pocket Gauge and Shop Gauge are precisely machined and carefully inspected in our Strongsville, Ohio facility (just south of Cleveland). These former OneTime Tools have now joined our permanent product line-up.
-
-


 Download Manual Instructions
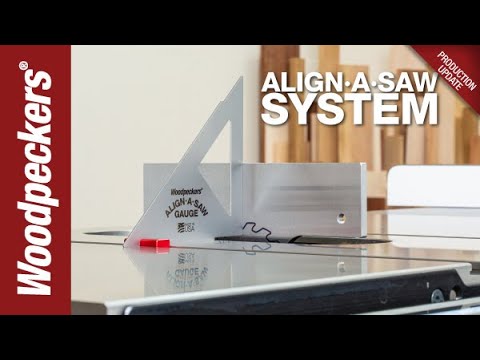
 Align-A-Saw System | Woodpeckers Woodworking Tools
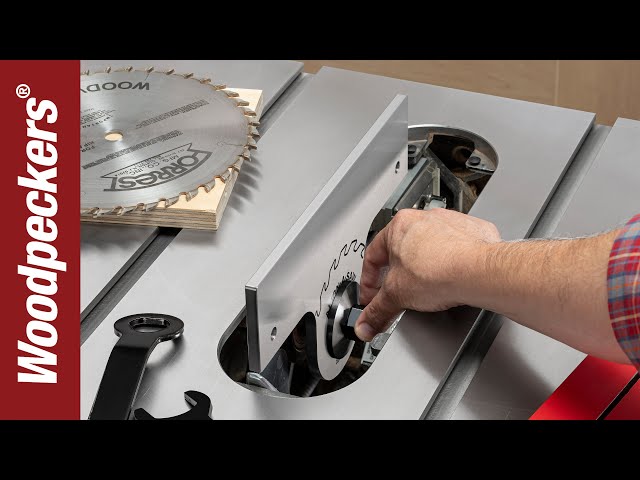
 Make Table Saw Adjustments Easier With Align-A-Saw | Deep Dive | Woodpeckers Woodworking Tools
 PRODUCTION UPDATE: Align-A-Saw System


