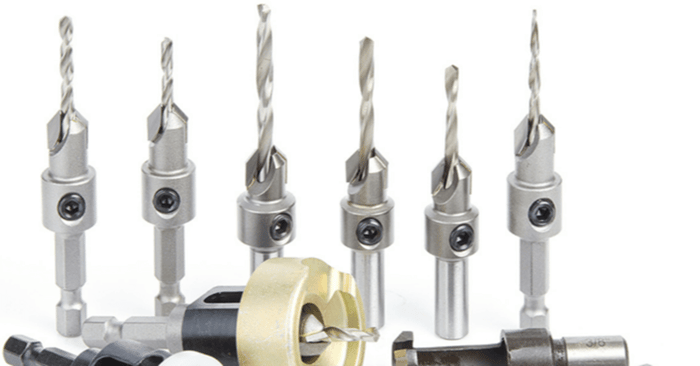
How to Use Countersink Bits for Perfect Woodworking
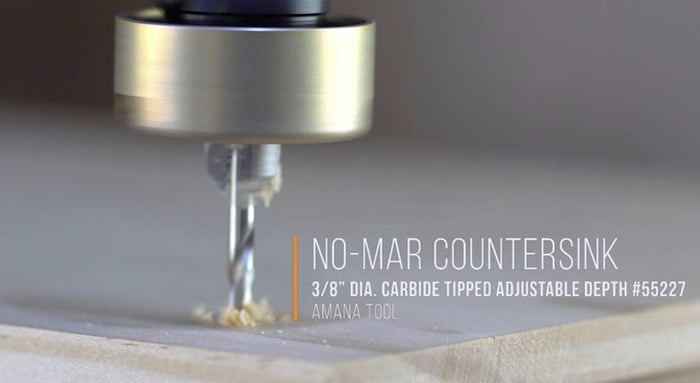 A countersink bit creates tapered holes, allowing screws to sit flush with or below the surface. This enhances both the functionality and appearance of woodworking projects by preventing protrusions that could snag.
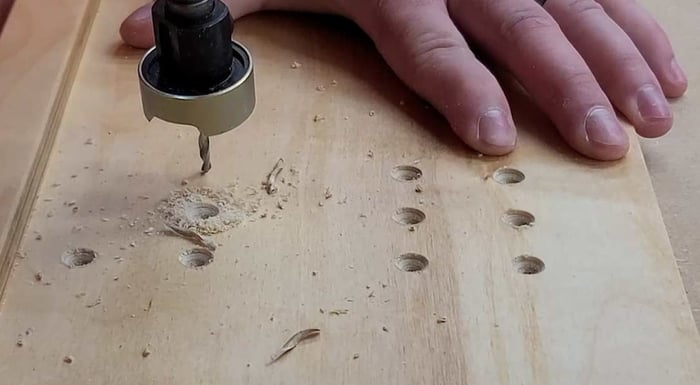
What Is a Countersink Bit?
A countersink bit is a drill bit designed to create conical holes for screws to sit flush with or slightly below the wood surface. This ensures smooth, professional finishes and enhances the overall look of your projects.
It’s essential for creating clean screw holes in all types of wood, including softwoods, hardwoods, and composites. A well-executed countersink ensures screw heads are seated properly, reducing snagging risks and improving the aesthetic of your work.
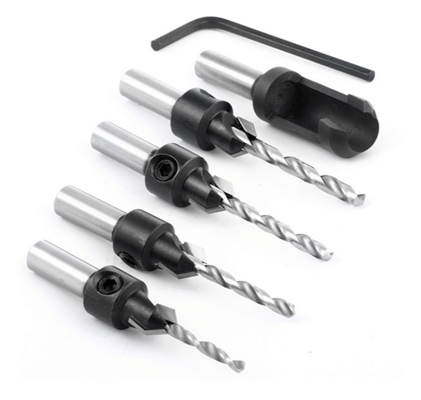
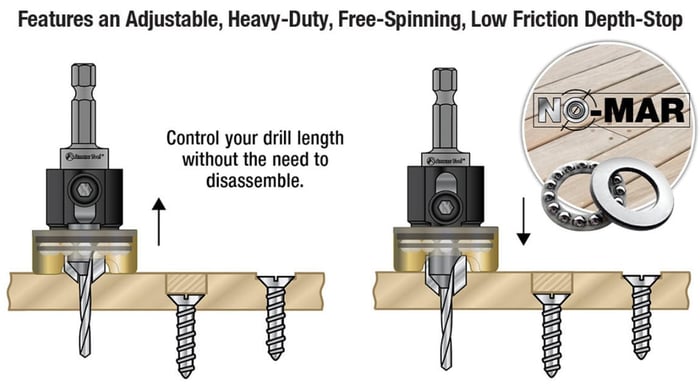 Amana Tool 5522with non-marring adjustable depth stop and no-thrust ball bearing.
Drill a pilot hole and tapered countersink in one step to help guide screws during project assembly.
Adjust the depth of both the pilot hole and countersink so that the resulting opening is either flush with the surface or recessed.
The resulting countersinks can be shallow to accommodate a screw only or deeper to allow for insertion of a plug.
Types of Countersink Bits
Common types include:
- Standard: Creates a conical recess around a hole for flathead screws.
- Combination: Drills both the hole and countersink in one step, saving time.
- Counterbore: Ideal for larger screw heads or dowels, creating a deeper recess.
Choose the right type based on the screw size, material, and depth needed for your project.
Benefits
Using a countersink bit offers numerous benefits:
- Improved Aesthetics: Screws sit flush, creating a clean and professional look.
- Enhanced Functionality: Helps ensure joints are tight and secure, preventing wood splitting.
- Long-Term Durability: The technique preserves the structural integrity of your projects.
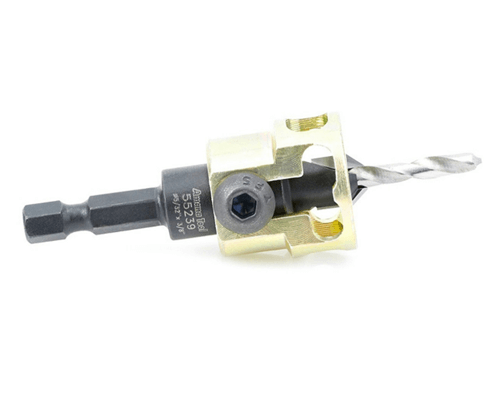 Amana Tool 55239 Carbide Tipped Adjustable Countersink w/Depth-Stop 3/8 D x 49 Degree Angle x 1/4 SHK Includes Drill Bit. The user friendly design enables control of the drill length and its replacement, without the need to disassemble the depth-stop.
How to Use a Countersink Bit
To use a countersink bit effectively, follow these steps:
- Choose the right bit for the project.
- Drill a pilot hole for the screw.
- Attach the countersink bit to your drill and align it with the hole.
- Drill slowly to achieve the desired depth, ensuring the screw head will sit flush or slightly recessed.
For accuracy, use a depth gauge to monitor the depth, and ensure a steady hand to avoid misalignment.
Choosing the Right Countersink Bit
When selecting a countersink bit, consider the material, screw size, and required depth. The tool should be sharp and suited for the task to ensure precise results.
Common Mistakes to Avoid
To avoid issues like uneven holes or misaligned screws, keep these tips in mind:
- Always use a sharp countersink bit to avoid wood tearing.
- Mark screw positions accurately to avoid drill bit wandering.
- Regularly check your tools for wear to maintain precision.
Alternative Methods
While countersink bits are popular, you can also use hand tools, router bits, or specialized machinery. Each method offers varying levels of precision and control, so choose based on the project needs.
Frequently Asked Questions
What is a countersink bit used for?
A countersink bit creates a conical hole for screws to sit flush with or slightly below the wood surface, improving both function and appearance.
Can I use countersink bits on different types of wood?
Yes, countersink bits work on softwoods, hardwoods, plywood, and MDF. Adjust the tool for the material to ensure a clean finish.
How do I maintain my countersink bit?
Clean the countersink bit after use and sharpen it regularly to keep it performing well. Store it in a dry place to avoid rusting.


