
How to Cut Acrylic with a CNC Router
Table of Contents
- Quick Take
- Why Acrylic Cuts Differently From Other Plastics
- Cast vs. Extruded Acrylic
- What Is the Best Router Bit for Acrylic?
- Feeds and Speeds for Cutting Acrylic
- Why Cutting Too Slowly Can Melt Acrylic
- What Should Acrylic Chips Look Like?
- Chip Evacuation Is Heat Management
- Depth of Cut and Workholding
- Keep the Protective Film On?
- How to Get a Cleaner Acrylic Edge
- Common Acrylic CNC Problems and Fixes
- Common Mistakes When CNC Routing Acrylic
- Choosing the Right Acrylic Router Bit
- Final Thoughts
- FAQs
Acrylic is one of the most satisfying materials to machine on a CNC router—when the setup is right. A clean cut can leave a smooth, precise edge that needs very little finishing.
But acrylic is less forgiving than many other plastics. Too much heat can cause melting and chip rewelding, while vibration, dull tooling, or excessive cutting force can lead to chipping or cracking.
The key is to treat acrylic as its own machining material rather than applying generic plastic-cutting settings.
Quick Take
For most CNC acrylic cutting, start with a sharp solid-carbide O-flute router bit designed for plastics. The goal is to create clean chips and evacuate them quickly so heat leaves the cut with the chip instead of building up in the acrylic.
- Use a sharp acrylic- or plastic-cutting O-flute bit.
- Maintain enough chip load to make chips rather than dust.
- Clear chips efficiently from the cutting area.
- Minimize vibration and tool deflection.
- Use air cooling when additional heat control is needed.
- Test settings on scrap before machining the finished part.
See the Let it Snow LED Holiday Sign CNC Plans, Downloadable and Customizable here
Why Acrylic Cuts Differently From Other Plastics
Acrylic, or PMMA, is harder and more brittle than plastics such as HDPE and UHMW.
That creates two main challenges:
Heat: If the cutter rubs instead of taking a clean chip, acrylic can soften. Chips may stick to the bit or weld themselves back onto the cut edge.
Brittleness: Excessive cutting force, vibration, or a dull cutter can chip the edge or start a crack.
Successful acrylic machining therefore depends on balancing sharp tooling, feed rate, spindle speed, depth of cut, chip evacuation, and workholding.
Cast vs. Extruded Acrylic
It helps to know which type of acrylic you are cutting.
Cast Acrylic
Cast acrylic generally machines more cleanly and is less prone to melting or chipping. It is often preferred for detailed CNC work, engraving, and parts where edge quality matters.
Extruded Acrylic
Extruded acrylic is typically less expensive and offers very consistent sheet thickness, but it can be more sensitive to heat during machining.
Both can be CNC routed successfully, but extruded acrylic often requires more careful control of feeds, speeds, and chip evacuation.
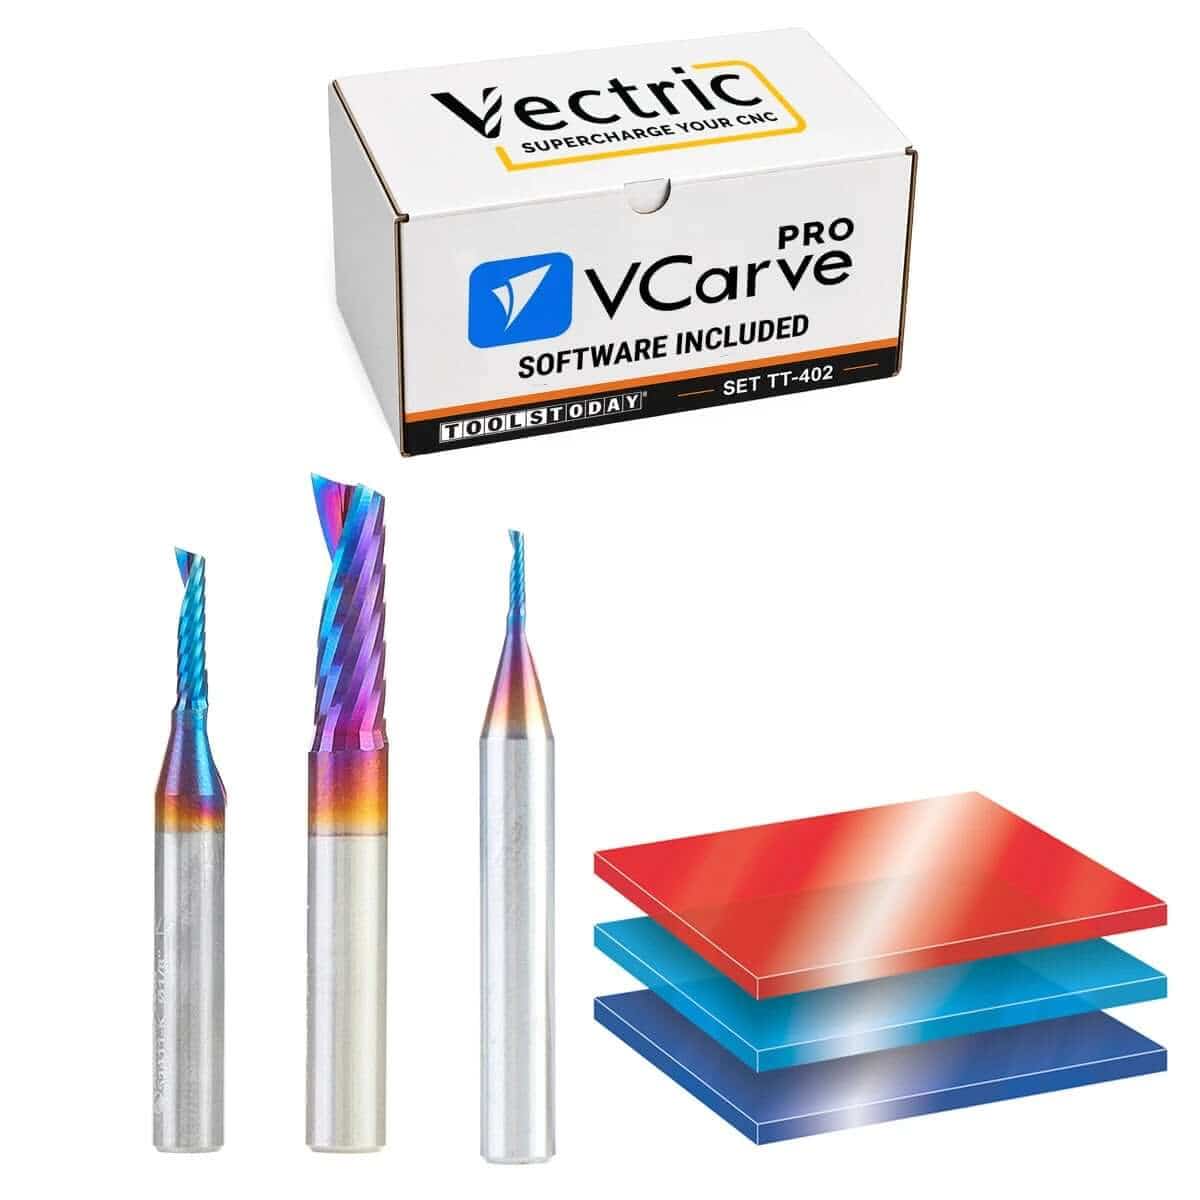 ToolsToday CNC Plastic Worker's Vectric V-Carve Pro and 3 Pc. Amana Tool Router Bit Bundle contains Vectric V-Carve Pro and the 3 Spektra Coated Solid Carbide Spiral O Single Flute bits Matt uses in his Acrylic "Let It Snow" sign -- the 51404-K 1/4" D, 51411-K" 1/8 D, and 51441-K 1/16" D.
What Is the Best Router Bit for Acrylic?
For most CNC acrylic cutting, an O-flute router bit designed for plastics is an excellent starting point.
O-flute geometry creates room for a relatively large chip and helps move that chip away from the cutting edge. Polished cutting surfaces can further reduce friction and material buildup.
Single-Flute O-Flute Bits
A single-flute O-flute cutter is especially useful for acrylic because the large flute provides plenty of room for chip evacuation.
It can also maintain a useful chip load at feed rates that are realistic for many desktop and mid-sized CNC routers.
ToolsToday carries solid-carbide slow-spiral O-flute bits for acrylic cutting, including both up-cut and down-cut configurations.
Up-Cut vs. Down-Cut
Up-cut bits pull chips upward and away from the cut, making them a strong choice when chip evacuation and heat control are priorities.
Down-cut bits push the material toward the spoilboard and can help with thin-sheet stability and top-edge control, though chips still need somewhere to go.
Choose based on material thickness, workholding, cut type, and the edge that matters most.
What About Two-Flute Bits?
Two-flute plastic-cutting bits can work very well on capable machines and may support higher production feed rates.
But adding a second flute reduces chip load per tooth if feed rate and RPM stay the same. On machines that cannot maintain higher feed rates, a single-flute bit may be easier to dial in without generating excess heat.
Feeds and Speeds for Cutting Acrylic
Feeds and speeds matter especially with acrylic because excessive heat can quickly lead to melting, edge welding, or a poor finish. The goal is to remove a clean chip rather than let the cutter rub against the material.
Manufacturer recommendations should always take priority for the specific bit, material, and depth of cut you are using. Amana Tool's published recommendations for its Spektra-coated single-flute O-flute plastic-cutting bits vary by cutter diameter, and the values should be treated as starting points rather than universal settings.
Real-World Acrylic Cutting Settings
In the acrylic-cutting video featured in this article, Matt used the following settings with Amana Tool Spektra-coated single-flute O-flute plastic-cutting bits:
| Router Bit | RPM | Feed Rate | Plunge Rate | Depth per Pass |
|---|---|---|---|---|
| Amana Tool 51411-K – 1/8" Single-Flute O-Flute | 18,000 | 80 IPM | 40 IPM | 0.03" |
| Amana Tool 51441-K – 1/16" Single-Flute O-Flute | 18,000 | 60 IPM | 30 IPM | 0.03" |
| Amana Tool 51404-K – 1/4" Single-Flute O-Flute | 18,000 | 100 IPM | 50 IPM | 0.125" |
Important: These are the settings Matt used successfully for this particular acrylic project and machine setup. They are not universal acrylic-cutting specifications. Always consult the manufacturer's feed-and-speed chart for the specific cutter you are using, then test on scrap material and adjust as needed.
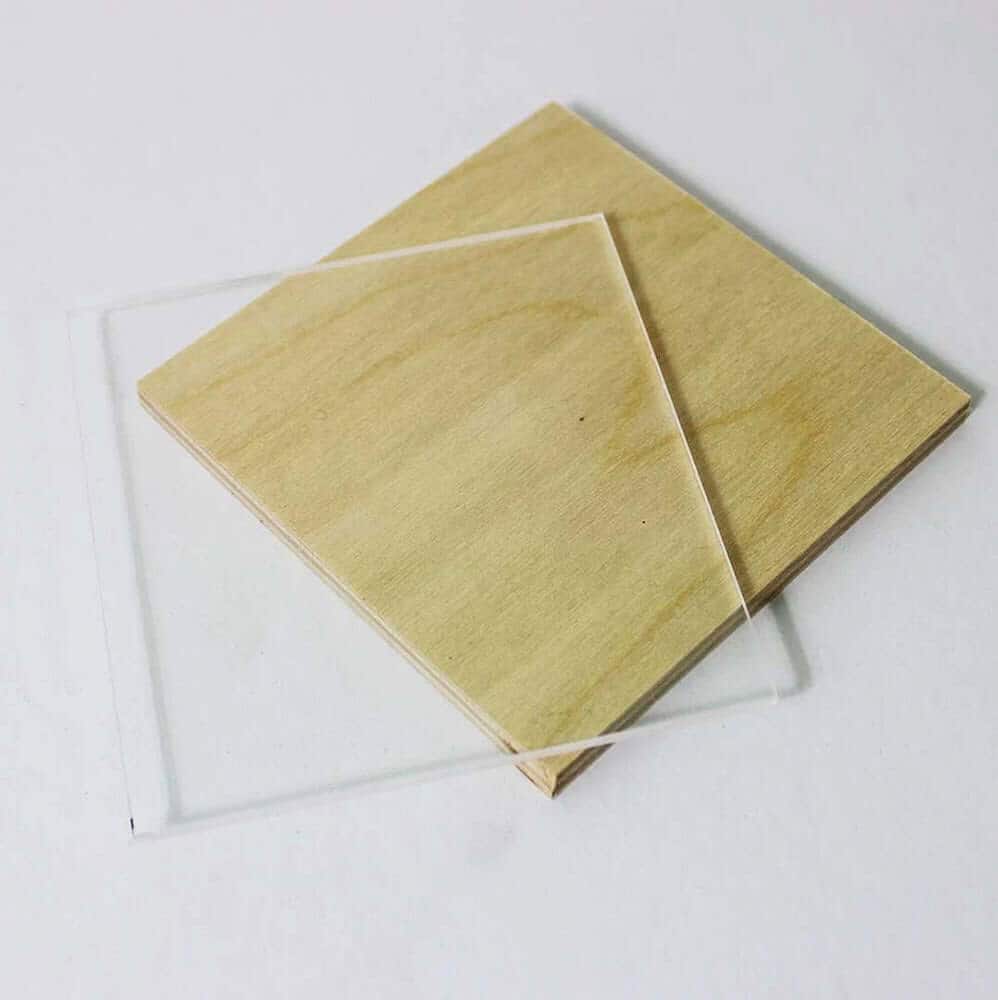 Clear Cast Acrylic sheets available up to 1/4" thick and sizes from 12"x12" up to 24"x48"
Why Cutting Too Slowly Can Melt Acrylic
Chip load is the amount of material each cutting edge removes as it passes through the acrylic. If the feed rate is too low relative to spindle speed and flute count, the cutter can rub instead of producing a clean chip. That friction creates heat, which can soften or melt the acrylic and cause material to stick to the bit.
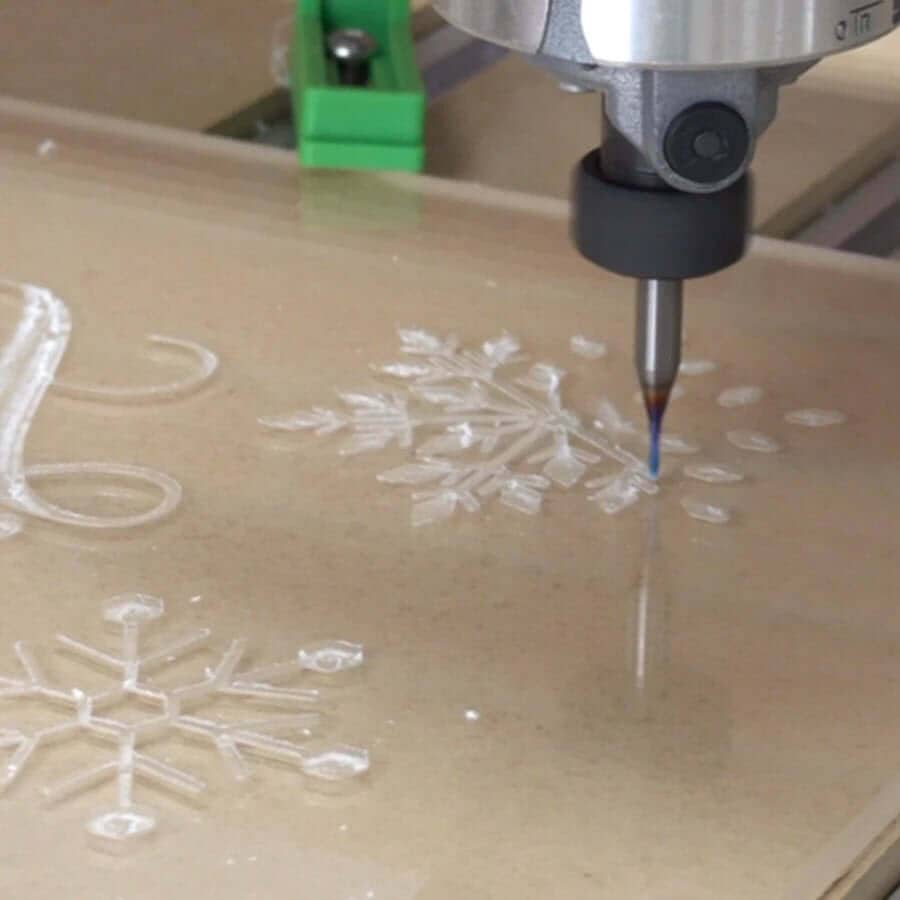
A clean cut should produce distinct chips rather than fine dust or softened plastic. If you see melting, welded chips, or a cloudy edge, check your feed rate, spindle speed, tool condition, and chip evacuation before continuing.
What Should Acrylic Chips Look Like?
Your chips are one of the best diagnostic tools available.
A good cut should produce identifiable chips that leave the cutting area rather than a cloud of fine dust or a sticky mass around the bit.
- Mostly dust: Chip load may be too low or the cutter may be dull.
- Sticky or fused chips: Too much heat is building up.
- Chips packing the flute: Evacuation may be inadequate.
- Clean chips but rough edge: Check vibration, tool deflection, cutter sharpness, or finishing strategy.
Chip Evacuation Is Heat Management
With acrylic, clearing chips is also a form of cooling.
The chip absorbs heat as it is cut. Getting it out of the kerf carries heat away from both the cutter and the finished edge.
Good dust collection helps, but an air blast aimed at the cutting area can be especially effective because it clears chips while helping control temperature.
Depth of Cut and Workholding
Trying to remove too much material in one pass increases cutting forces and makes chip evacuation harder.
If edge quality is poor, reducing depth per pass is often a better adjustment than dramatically slowing the feed rate.
Workholding is equally important. Acrylic does not tolerate vibration well. If the sheet lifts, chatters, or moves during the cut, you may see chipped edges, chatter marks, dimensional error, or cracking.
Vacuum tables are ideal for many sheet jobs, but clamps, double-sided workholding tape, tabs, or dedicated fixtures can also work well.
Pay particular attention to small parts near the end of a profile cut, when they are most likely to move.
Keep the Protective Film On?
Where practical, leaving the manufacturer's protective masking in place can help prevent scratches during machining.
However, damaged or loose film can interfere with chip evacuation or wrap around the cutter. Make sure the sheet itself is held securely and that the masking is not moving independently from the acrylic.
How to Get a Cleaner Acrylic Edge
Acrylic edge quality improves when the cutter is sharp, the machine is rigid, vibration is minimized, and chips are leaving the cut efficiently.
For visible edges, consider leaving a small amount of material during roughing and removing it with a separate finishing pass.
A light finishing pass gives the cutter a consistent amount of material to remove and can reduce chatter marks and irregularities.
The cleaner the edge comes off the CNC, the less sanding, scraping, buffing, or polishing will be required afterward.
Common Acrylic CNC Problems and Fixes
| Problem | Likely Cause | What to Try |
|---|---|---|
| Melted or fused edge | Too much heat, low chip load, poor evacuation | Increase feed relative to RPM, improve chip clearing, reduce pass depth |
| Acrylic stuck to the bit | Heat buildup or trapped chips | Clean the bit, improve evacuation, add air cooling |
| Fine plastic dust | Chip load too low or cutter dull | Increase feed, reduce RPM, use fewer flutes, inspect cutter |
| Chipped edge | Vibration, dull tool, excessive cutting force | Improve workholding, reduce depth of cut, check cutter condition |
| Cloudy or rough edge | Chatter, tool deflection, poor finishing strategy | Improve rigidity, use a sharp polished cutter, add a finishing pass |
| Cut starts well, then melts | Heat or material gradually building up | Improve chip evacuation, add air, inspect the bit |
Common Mistakes When CNC Routing Acrylic
Using a General Wood Router Bit
A bit may cut acrylic without being well suited to it. Plastic-specific O-flute geometry and polished cutting edges can dramatically improve chip evacuation and reduce heat.
Assuming Slower Is Always Safer
Feed rate that is too low can cause rubbing and melting. Acrylic needs enough chip load for the cutting edge to cut cleanly.
Adding More Flutes Without Increasing Feed
More flutes reduce chip load per tooth unless feed rate increases accordingly.
Ignoring Chip Buildup
Recutting hot acrylic chips generates more friction and heat.
Continuing With a Dull Bit
A dull cutter increases both heat and cutting force, making melting and chipping more likely.
Choosing the Right Acrylic Router Bit
For general CNC profile cutting in acrylic, look for:
- solid-carbide construction
- plastic-specific O-flute geometry
- a highly polished cutting edge
- one or two flutes depending on machine capability
- adequate flute length for the material thickness
- up-cut or down-cut geometry appropriate to the job
Explore ToolsToday's acrylic-cutting O-flute router bits for cutters designed specifically for this material.
For other thermoplastics and sheet materials, see our broader selection of plastic-cutting router bits.
Final Thoughts
Clean CNC routing in acrylic is less about finding one magic RPM and more about controlling heat.
Use a sharp cutter designed for plastics, maintain enough chip load to cut rather than rub, clear chips quickly, keep the sheet stable, and match depth of cut to what your machine can handle efficiently.
Watch the chips and the edge. Melting, dust, chatter, or buildup are signals that something in the process needs adjustment.
Once those variables are dialed in, acrylic becomes a precise, repeatable, and highly rewarding CNC material.
FAQs
What is the best CNC router bit for cutting acrylic?
A sharp, solid-carbide O-flute bit designed for plastics is an excellent choice. Single-flute O-flute bits provide plenty of room for chip evacuation and can help reduce heat buildup, especially on desktop and mid-sized CNC routers.
Why does acrylic melt when I cut it with a CNC router?
Melting usually occurs when too much heat builds up at the cutting edge. Common causes include feeding too slowly for the spindle speed, using a dull or inappropriate bit, taking too deep a cut, or failing to clear chips effectively.
Should I use an up-cut or down-cut bit for acrylic?
Up-cut bits provide excellent chip evacuation, which helps control heat. Down-cut bits can help hold thin material against the spoilboard and improve top-edge control. The best choice depends on workholding, material thickness, and the type of cut.
Is cast or extruded acrylic better for CNC routing?
Cast acrylic is generally easier to machine cleanly and is less prone to melting or chipping. Extruded acrylic can also be CNC routed successfully, but it may require more careful control of feeds, speeds, and chip evacuation.
Should I cut acrylic faster or slower to prevent melting?
Slower is not necessarily better. Feeding too slowly can cause the router bit to rub rather than cut, generating additional heat. The goal is to balance feed rate and spindle speed so the cutter produces clean chips instead of fine dust or melted material.
How do I get a smooth, clear edge when CNC routing acrylic?
Start with a sharp, polished plastic-cutting bit, good chip evacuation, secure workholding, and properly matched feeds and speeds. For visible edges, leaving a small amount of material for a light finishing pass can improve the surface and reduce the amount of polishing required afterward.