How to Use a Flush Trim Router Bit (Beginner-Friendly Guide)
Table of Contents
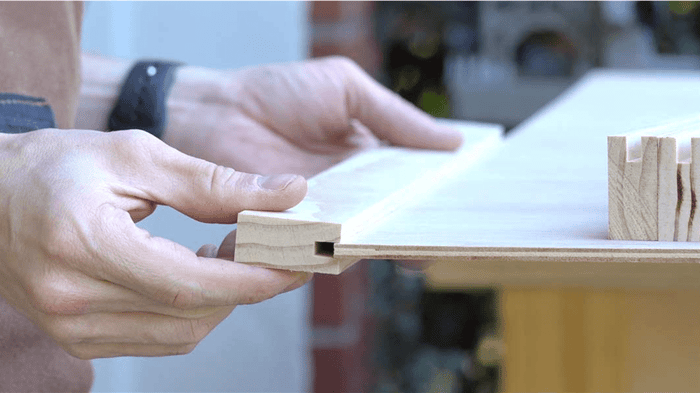
What Does A Flush Trim Bit Do?
A flush trim bit lets you copy one surface perfectly onto another—clean edges, no guesswork.
Think:
- Trimming edge banding
- Matching two boards exactly
- Cleaning up rough cuts from a jigsaw
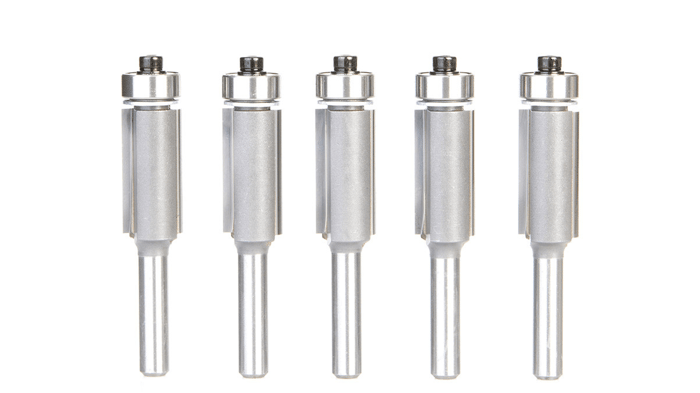
What Is a Flush Trim Bit?
A flush trim bit has:
- A cutting edge
- A bearing (top or bottom)
The bearing rides along your template or reference surface while the cutter removes excess material.
👉 If the bearing is on top → use with handheld routers
👉 If on bottom → better for router tables (or flipping your work)
Shank Size (Important for Beginners)
Most flush trim bits are commonly used in handheld trim routers, which typically accept 1/4" shank bits.
- 1/4" shank → standard for trim routers and lighter work
- 1/2" shank → more stability, less vibration (requires a larger router)
Beginner tip: If you're using a compact or trim router, you’ll almost always need a 1/4" shank bit.
For most DIY and light shop work, a 1/4" shank flush trim bit offers plenty of control and compatibility.
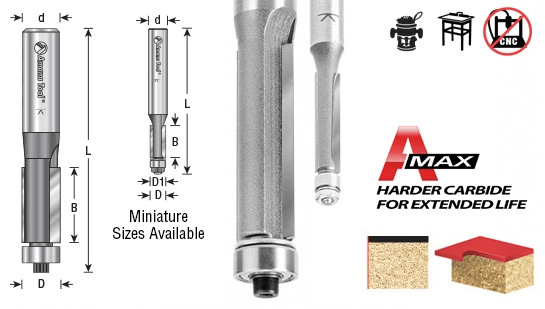
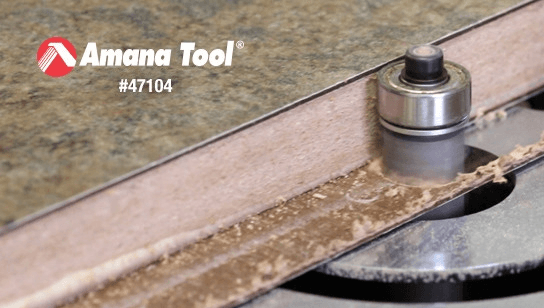 Amana Tool 47104 Carbide Tipped Flush Trim is excellent for flush trimming melamine, laminate, wood & plywood.
 Basic Setup (Handheld / Trim Router)
What You Need:
- Trim router (or full-size handheld router)
- Flush trim bit (top-bearing for beginners)
- Clamps (non-negotiable)
Steps:
- Secure your workpiece
- Place your template or reference piece on top
- Install the bit so the bearing touches the template
- Set shallow depth for control
- Turn router on before contacting wood
How to Use It (Step-by-Step)
1. Follow the edge (don’t force it)
Let the bearing do the guiding.
Your job = keep the base flat and steady.
2. Move in the correct direction
- Move left to right when the router is on top of the work (standard handheld use)
- This keeps the bit pulling into the material—not away from it
3. Take light passes
- Don’t remove too much at once
- Especially important for:
- Hardwood
- Laminates
- Plywood edges
4. Watch the grain direction
- Going “against the grain” = tear-out
- If you see chipping:
- Reverse direction briefly (light climb cut)
- Then continue normally
Common Beginner Mistakes
- Not clamping properly → movement = ruined edge
- Taking full-depth cuts → chatter + burn
- Lifting the router → uneven edge
- Ignoring grain direction → tear-out
Flush trim router bits are excellent for template work or laminate work. For template application, the bearing follows the template, while the cutting edges trim the workpiece.
With the router hand held, the template is on the bottom of the work. With a table-mounted router, the template is on top.
Pro Tips (That Make You Look Experienced)
- Use painter’s tape + CA glue to attach templates (no clamp interference)
- For edge banding: let it overhang slightly, then trim flush
- Keep the bit clean → resin buildup = burn marks
- Start with a short cutting length bit for better control
When to Use a Flush Trim Bit
Perfect for:
- Template routing
- Edge banding cleanup
- Duplicating parts
- Leveling laminated pieces
FAQs
What’s the difference between a flush trim bit and a pattern bit?
They do the same job—copying a template—but the bearing is in a different position. A flush trim bit typically has the bearing on top, while a pattern bit has it on the bottom. You choose based on whether your template is above or below the workpiece.
Can I use a flush trim bit without a template?
Yes—but only if you already have a clean, straight reference edge (like a factory-cut board). The bearing needs something to follow. Without that, the cut won’t be accurate.
Why am I getting burn marks when using a flush trim bit?
Burning is usually caused by one of three things: moving too slowly, a dull or dirty bit (resin buildup), or too much material being removed in one pass. Clean the bit, take lighter passes, and keep a steady feed rate.
What router speed should I use for a flush trim bit?
Most flush trim bits work best at medium to high speeds, but it depends on the bit diameter. Larger bits should run slower to stay safe and reduce vibration. When in doubt, start a bit slower and adjust based on cut quality.
Can a flush trim bit cut through thick material in one pass?
It’s not recommended. Taking full-depth cuts can cause tear-out, chatter, or even damage the bit. It’s better to remove most of the waste first (with a saw or multiple passes), then use the flush trim bit for a clean final edge.