How to Dimension a Chamfer (Beginner-Friendly Guide)
Table of Contents
How to Dimension a Chamfer (Beginner-Friendly Guide)
If you’ve ever seen a note like “2mm × 45° chamfer” on a drawing and wondered what it means—you’re not alone. This is simply a way of describing how much of the corner gets cut off, and at what angle.
In woodworking and CNC routing, you may not always think in “engineering drawing” terms—but the concept is exactly the same as setting the depth of a chamfer bit.
What Is a Chamfer?
A chamfer is a flat, angled cut that removes a sharp corner. Instead of a 90° edge, you get a clean bevel that improves both appearance and durability.
- Prevents splintering
- Makes edges safer to handle
- Adds a professional finished look

The Most Common Way to Dimension a Chamfer
The standard format looks like this:
2mm × 45°
Here’s what that means:
- 2mm = how far the chamfer extends along the edge
- 45° = the angle of the cut
In simple terms:
“Cut off the corner by 2mm at a 45-degree angle.”
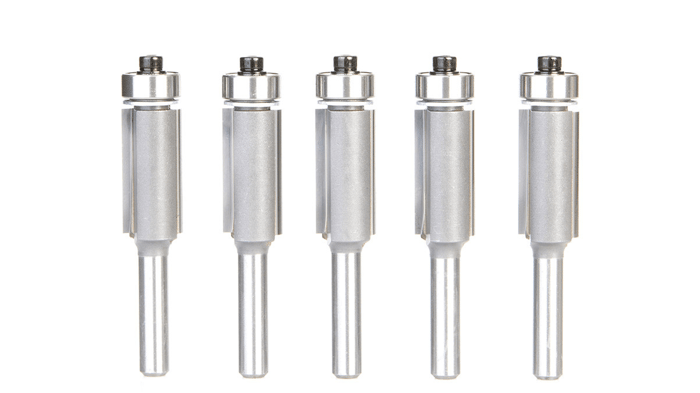
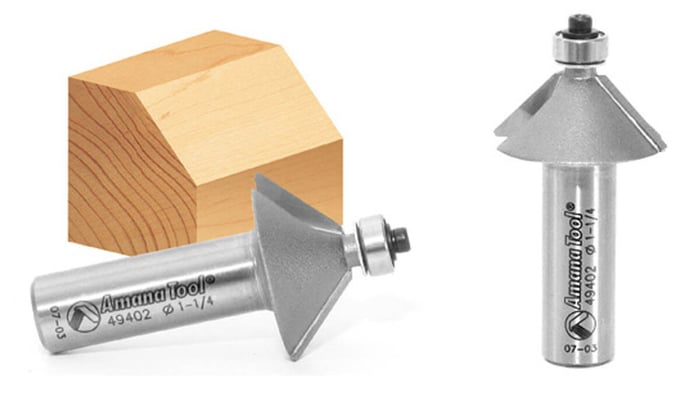
How This Applies to Router Bits
In a woodworking shop, you’re usually not measuring chamfers with calipers—you’re controlling them with your router setup.
Here’s how it translates:
- The angle is determined by your chamfer bit (most are 45°, but 30° and 60° are also common)
- The size of the chamfer is controlled by how deep you cut
That means:
- Shallow pass → small chamfer
- Deeper pass → larger chamfer

Common Variations You Might See
- C2 → shorthand for a 2mm chamfer at 45°
- 2mm × 30° → a shallower angle, longer bevel
- 2mm × 3mm → two distances instead of an angle (used when the angle isn’t standard)
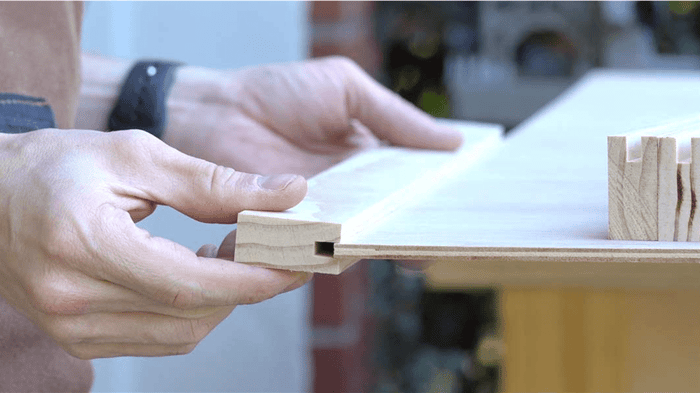
Pro Tip for Clean Results
Always test your chamfer on scrap material first. Small adjustments in depth can make a big visual difference—especially on hardwoods or finished pieces.
If you’re matching an existing part or plan, sneak up on the final depth with multiple passes instead of trying to hit it in one cut.
Bottom Line
“Dimensioning a chamfer” just means clearly defining:
- How big the cut is
- What angle it’s cut at
Once you understand that, dialing it in with a router bit becomes quick, repeatable, and easy to control.
FAQs
What does “2mm × 45° chamfer” mean?
It means the edge is cut back 2mm at a 45-degree angle. The 2mm refers to the size of the chamfer, and the 45° is the angle of the cut.
How do I control chamfer size with a router bit?
The angle is fixed by the bit (usually 45°), and the size is controlled by how deep you set the bit. Raise or lower the bit to increase or decrease the chamfer.
Do all chamfer bits cut at 45°?
No. While 45° is the most common, chamfer bits also come in other angles like 30° and 60°. The angle you choose affects how steep or shallow the bevel looks.
Should I cut a chamfer in one pass or multiple passes?
For best results, especially in hardwoods, use multiple shallow passes. This reduces tear-out, improves finish quality, and gives you more control over the final size.