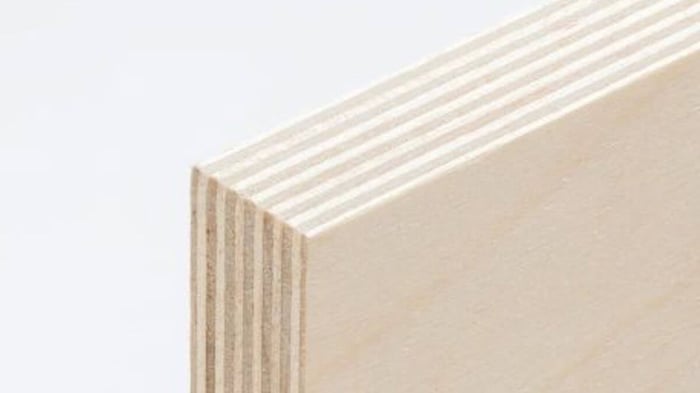
How to Choose the Best Router Bit Flute Count
Table of Contents
Quick takeaway: Fewer flutes give better chip clearance and higher feeds; more flutes give a finer finish but reduce room for chips. Match router bit flute count to the material and your feed/spindle setup for best results.
Why Flute Count Matters
Flutes are the cutting edges and the chip-clearance channels on a router or CNC bit. Every flute that contacts the work removes a slice of material each revolution — and also needs somewhere to send the resulting chips. That simple truth creates a trade-off: add flutes and you increase cutting edges per rotation (better finish, potentially higher material removal with appropriate feed), but you reduce the space available for chips to evacuate. Limited chip clearance increases heat, can cause burning or melting in some materials, and shortens tool life.
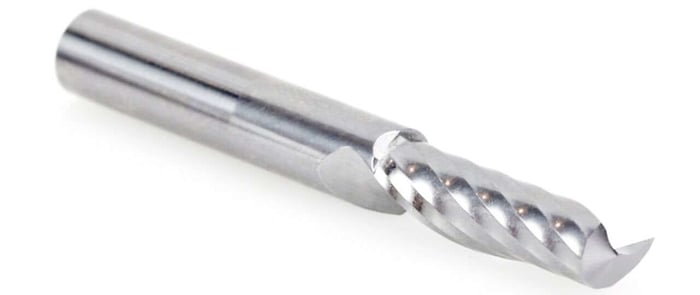 Amana Tool 51404 CNC Solid Carbide Spiral 'O' Flute Plastic Cutting Single-Flute Up-Cut Router Bit -- perfect for routing signs and displays.
Common Router Bit Flute Counts & What They Do
1‑Flute
Mostly seen in plastics and some specialty signmaking bits. A single bit flute leaves maximum space for chips and minimizes heat buildup — useful when the material is prone to melting, like acrylic. The finish is rougher than multi‑flute bits, so 1‑flute is rarely the first choice for fine woodworking.
2‑Flute
The most common general-purpose flute count for woodworking and entry-level CNC work. Two flutes hit a sweet spot: good chip clearance for deep cuts and aggressive feeds, while still delivering a decent finish. If you only keep one type of spiral bit for everyday work, a 2‑flute is the safest bet.
3‑Flute
Three flutes give a smoother finish because there are more cutting edges engaging the work per revolution. That makes 3‑flute bits attractive for hardwoods, non-ferrous metals, and composite materials when finish quality matters. The downside: less room for chips, so feeds and speeds must be dialed in to avoid clogging or excess heat.
4‑Flute and Higher
Four or more flutes are common in endmills used for steel and other metals where a fine finish and dimensional accuracy are critical. In wood and plastics these bits can clog quickly and produce heat; they’re typically only used for non‑ferrous metals or where coolant and strong chip evacuation are present.
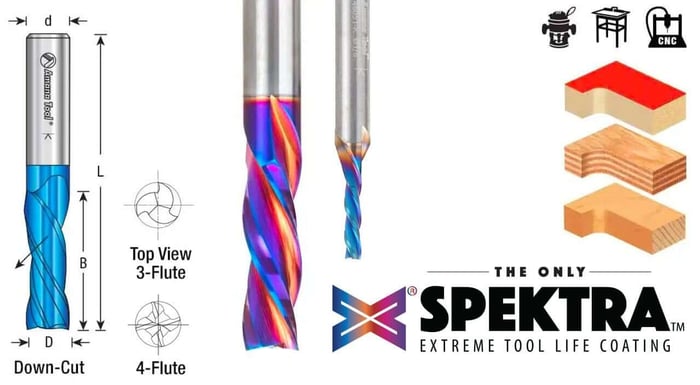 Solid Carbide Spektra™ Extreme Tool Life Coated Spiral Plunge Down-Cut Router Bits with three- and even four-flute design for very high quality finish.
 Match Flute Count to the Material
Wood (Softwoods and Hardwoods)
For general woodworking use a 2‑flute bit. It balances finish and chip clearing, works well for through‑cuts and deeper pockets, and is forgiving when you’re tuning feed and RPM. Use a 3‑flute for hardwoods or when the final surface will be visible and you want less sanding. Avoid 4+ flutes unless you know how to control feed so chips don’t pack up in the flute valley.
Plastics & Acrylics
Soft plastics and acrylics are heat‑sensitive. Use 1‑ or 2‑flute bits to maximize chip space and reduce the chance of melting. Slow spindle speed doesn’t always help — often it’s higher spindle speeds with appropriate feed rates and fewer flutes that keeps the cut clean, because the chips are evacuated faster.
Aluminum and Non‑Ferrous Metals
Non‑ferrous metals favor more cutting edges for a cleaner finish: 2‑ or 3‑flutes are common for aluminum. If you move to 4‑flute cutters, plan for excellent chip evacuation and consider using coolant or compressed air to clear chips. Note that feeds and speeds for metal are a different ballgame and should follow metal‑cutting recommendations for tool coating and tool material.
Composites, HDU, PVC
These materials are often abrasive and produce dusty chips. A 2‑flute provides reliable chip clearing and good surface quality. A 3‑flute can be used for a finer finish, but only if your vacuum or dust collection can keep up — otherwise the extra flute will quickly clog.
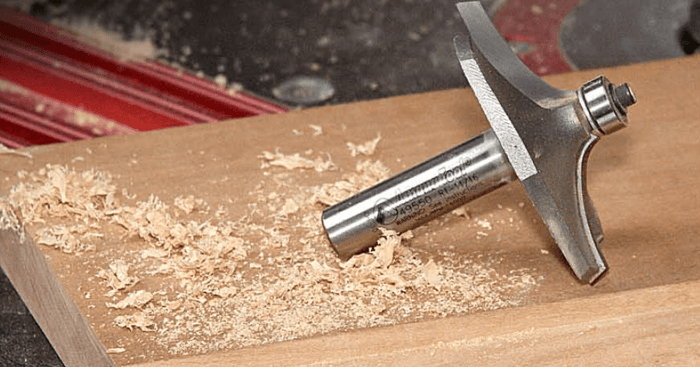
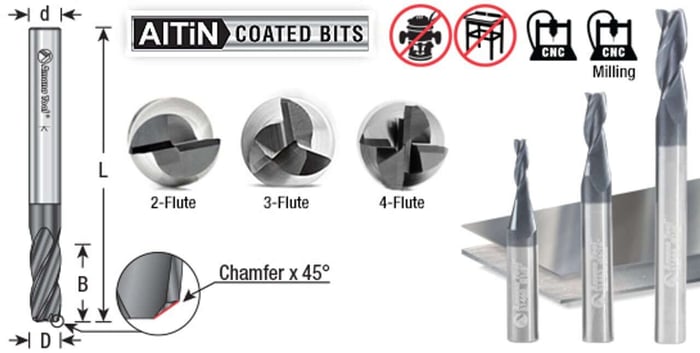 AlTiN Coated Router Bits excel at cutting Steel, Cast Iron, & Composites
Practical Guidelines & Decision Rules
- Rule of Thumb: Fewer flutes = better chip clearance; more flutes = smoother finish.
- If you’re unsure, start with a 2‑flute bit and tune feed/speed from there.
- Deep cuts and pocketing generally prefer fewer flutes; finishing passes can use more flutes for a better surface.
- Match cutter geometry (helix, coating, carbide grade) to the material in addition to flute count — flute count alone isn’t everything.
Quick Reference Chart
| Material | Recommended Flutes | Why |
|---|---|---|
| Softwood | 2 | Good balance of clearance and finish |
| Hardwood | 2–3 | Extra flute for smoother finish on final passes |
| Plastic / Acrylic | 1–2 | Max chip space to prevent melting |
| Aluminum | 2–3 (4 with coolant) | Finish + chip control; coolant helps with higher flute counts |
| HDU / PVC / Composites | 2–3 | Balance of dust evacuation and finish |
Example Workflow — Picking a Flute Count for a Job
- Identify the material and whether the cut is a roughing pass or final finish pass.
- Choose a starting flute count (2‑flute for unknown/wood; 1–2 for plastics; 2–3 for aluminum).
- Set conservative DOC (Depth of Cut) and test a short cut to check chip evacuation and finish.
- Adjust feed and RPM to reach the desired surface without clogging or overheating — add flutes only if the chip path stays clear.